Email Validation Integration for Unbounce
Prerequisites
You must have a Unbounce account and a published page.
If you do not have an account, then you can create one at https://unbounce.com/.
Step 1:
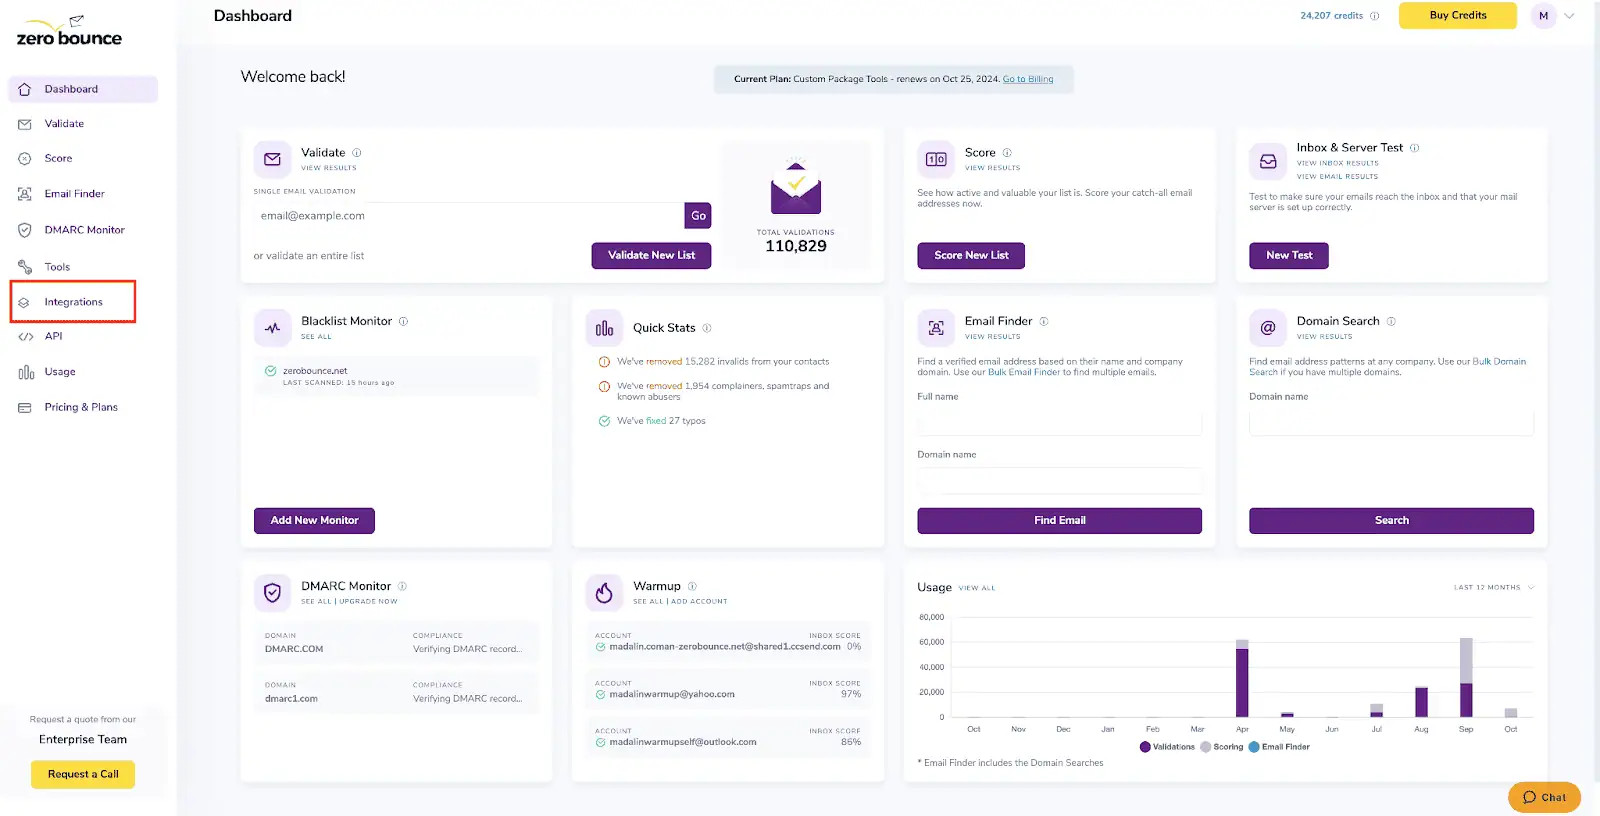
Go to https://www.zerobounce.net/members/signin and sign in with your ZeroBounce account. After that go on the menu on left and click Integrations.
Step 2:
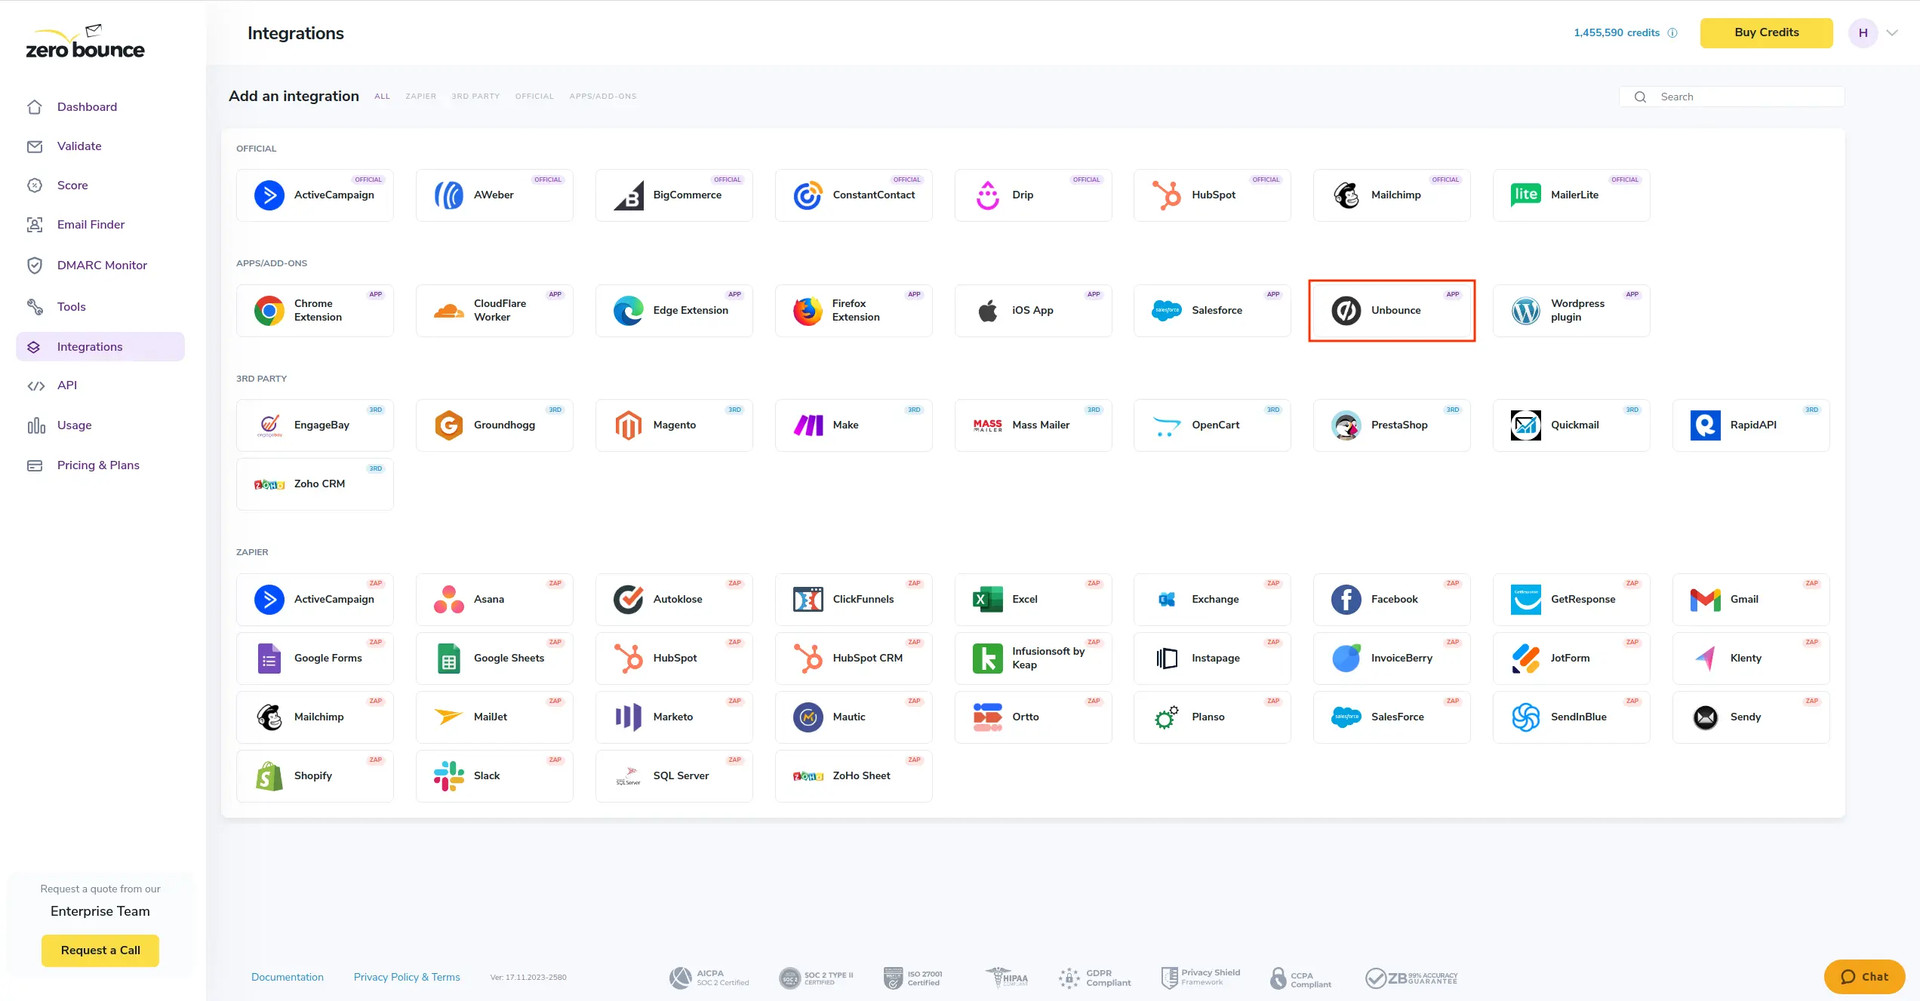
On the Integrations page select Unbounce from the Integration List. It is on our APPS/Addons panel.
Step 3:
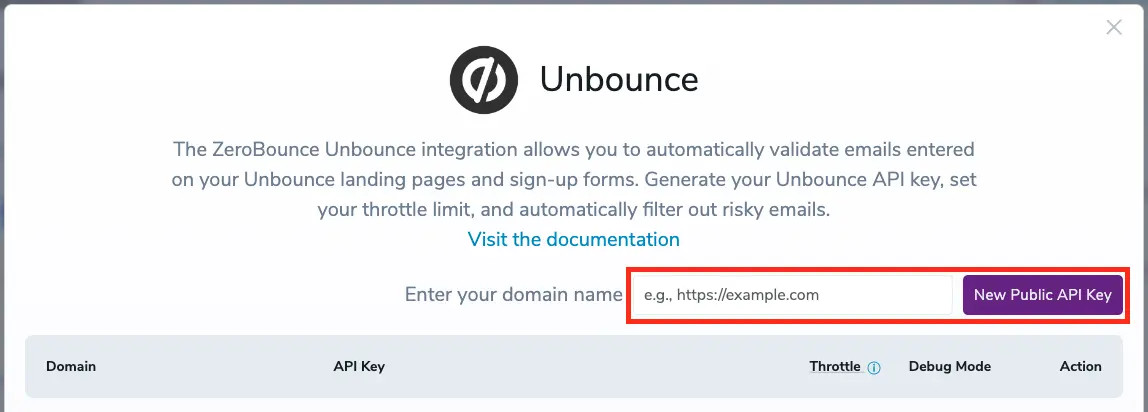
Enter your website URL and click 'New Public API Key' to generate an API key linked to your site.
Use only the domain to generate the API Key. Ex: https://test.unbounce.com
Make sure that the URL starts with https:// and there is no / at the end. Failure to do so will result in validation issues.
Step 4:
In this section, you can manage your API Keys:
- Edit URL and Throttle
- URL - if the URL is changed, ensure that the script is placed on the correct Unbounce page
- Throttle - the number of email validation attempts per hour on your form
- Change statuses
- Select the checkboxes that represent the validation criteria you want to designate as "valid" for your use case. Unselected checkboxes indicate that the associated criteria will not be considered valid.
- Generate a new API Key
- Show/Hide API Key
- Copy API Key
- Debug Mode
- Delete
After generating your API key, please copy it and proceed to your Unbounce page to continue configuring your integration (Step 5).
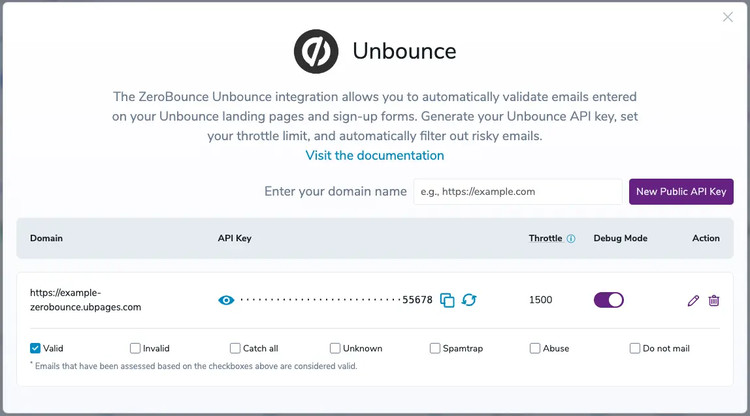
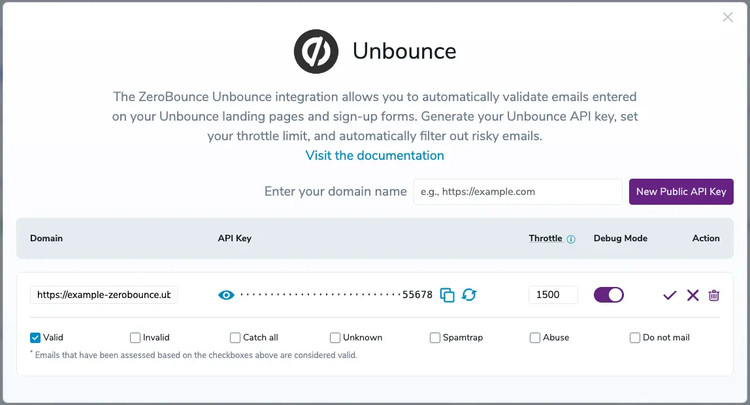
Debug mode removes validation limits, but it's best not to keep it active for too long to safeguard your validation services.
Step 5:
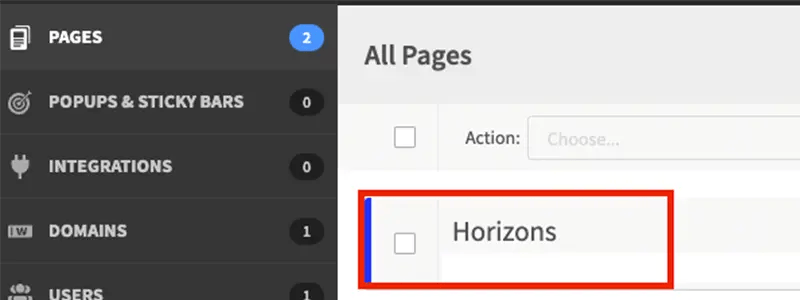
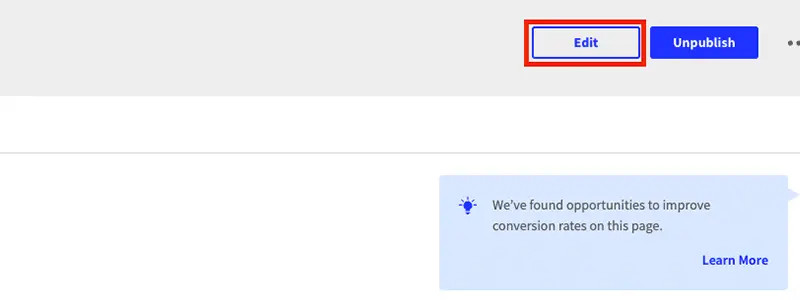
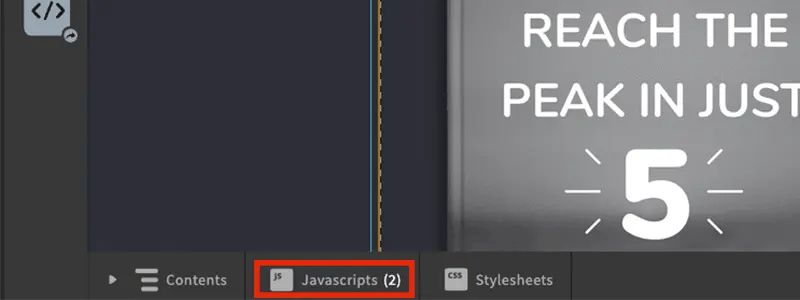
Visit the Unbounce website, navigate to the 'Pages' section and click on the page where you intend to use the integration service. Go to 'Edit' screen and from there click 'JavaScripts' in the bottom-left of the screen.
This will open the 'Manage Scripts' window (Step 6)
Please note:
Verify that the page's URL matches the one used when generating the API Key.
Step 6:
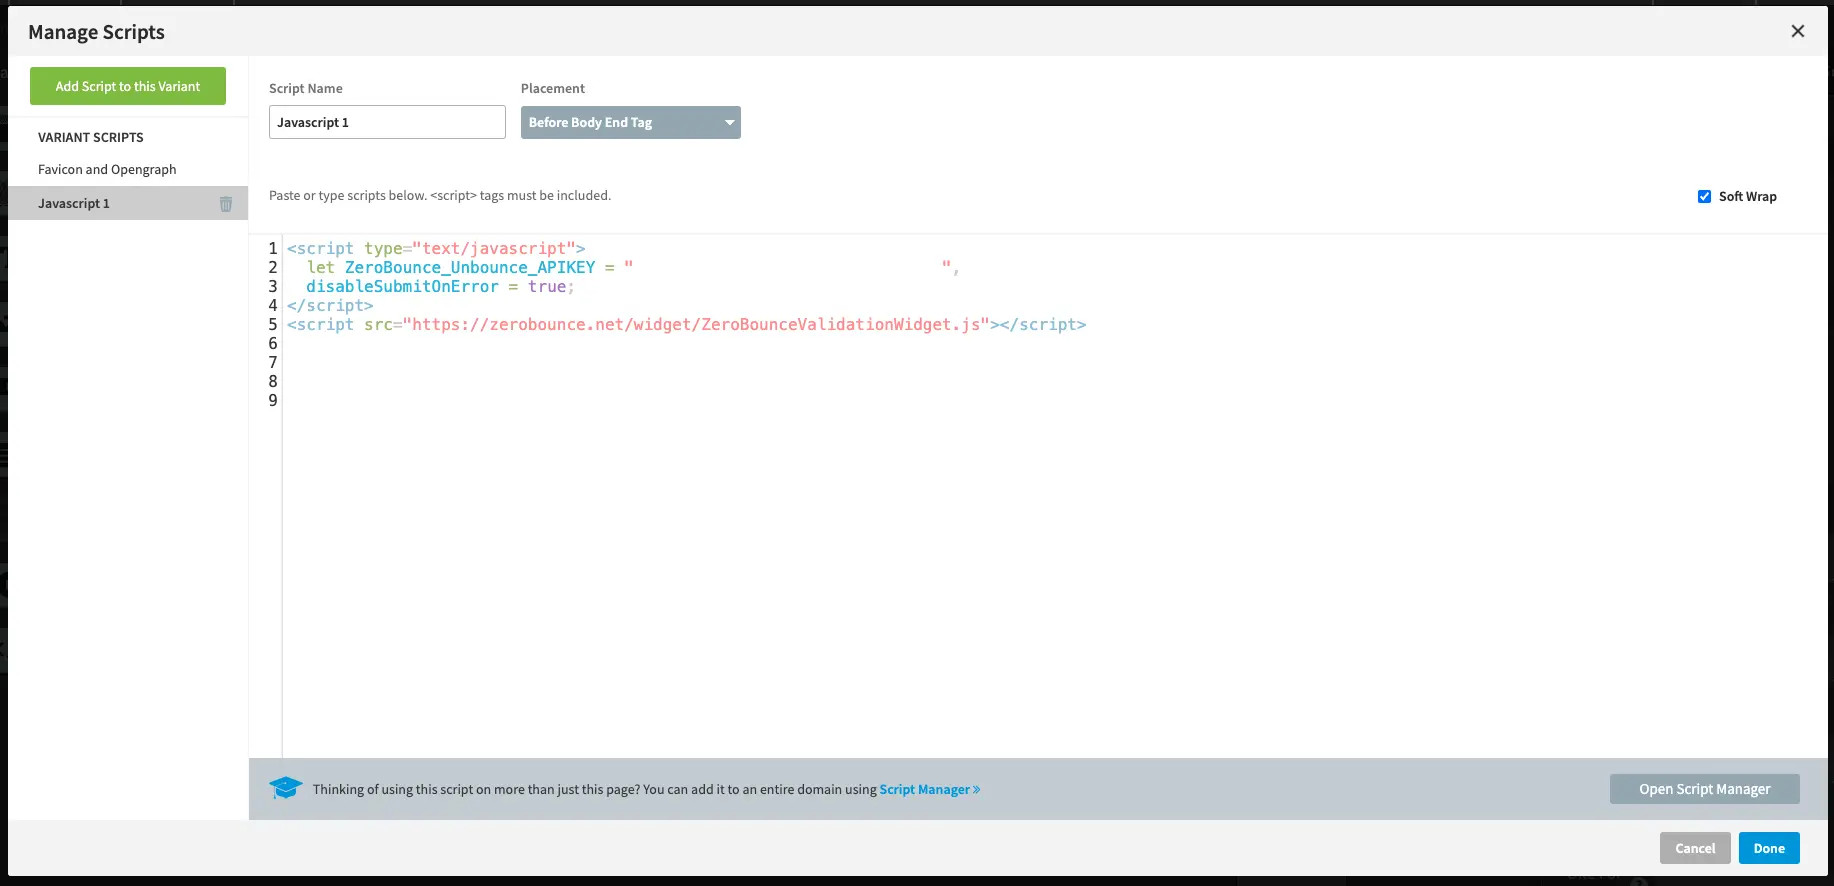
In the 'Manage Scripts' window, copy and paste the HTML snippet bellow. Make sure that 'Placement' is set to 'Before Body End Tag'. Click 'Done' in the bottom-right to continue.
Prior to utilizing the script, it is crucial to ensure that you are operating within the appropriate environment. If your APIKey was generated on zerobounce.net, it is imperative to exclusively reference the documentation and resources available on zerobounce.net, and similarly, if it originates from zerobounce.in, adhere to the documentation provided on zerobounce.in. This adherence to the specific source is pivotal for seamless and efficient operation.
Step 7:
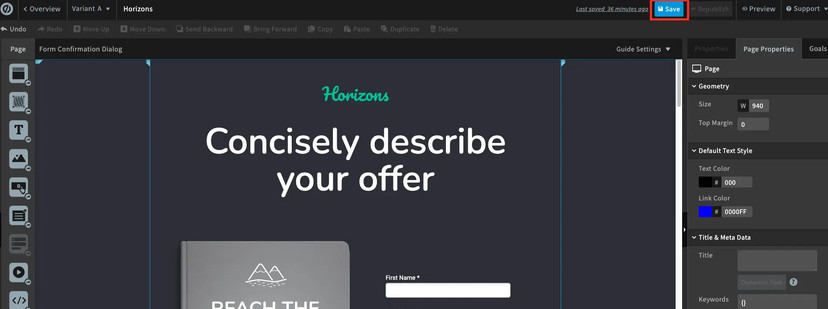
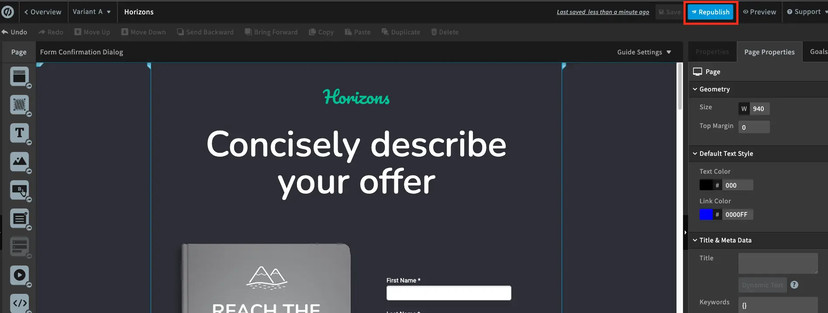
To finalise the process make sure you click 'Save' and then 'Republish' in the top-right corner.
Once your page is republished, your ZeroBounce widget can start verifying emails.
More information
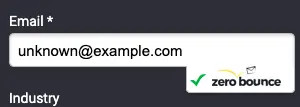
The following images illustrate how a valid and an invalid email will be displayed.

Please note:
As mentioned in step 6, there are certain cases that will allow the form to be submitted even if the email is invalid and these are:
- if the ZeroBounce user account used to generate the API key runs out of credits
- if the throttle limit is exceeded; Throttle is set by default to 10 per hour and can be changed in the Unbounce integration screen (see Step 4)
Emails that are considered valid include those categorized as catch-all, unknown and valid.
ZeroBounce widget will only validate emails on the preview or live version of the Unbounce page, not from the editor screen.