Multi-file upload
Our system accepts single or multiple files for upload, and it includes multiple accepted formats: .txt, .xls, .xlsx, and .csv file types. Please make sure your file(s) is(are) in one of our accepted formats. When you upload a file or multiple files, our system will scan it or them. The uploader will reject files that contain unusual or incompatible data. After initiating the upload, our system will try to determine the column's data type. You can correct any errors before proceeding with the validation. If you can't get the system to accept your file(s), please use the Chat button on the bottom right to contact us.
Please make sure your file(s) respect one of the formats here: Allowed File Formats.
When uploading a single file or multiple files for validation, the system will guide you and help you prepare the file for the best possible experience. The steps can be summarized as follows:
- Select the ZeroBounce Validation functionality that will require uploading a file or multiple files.
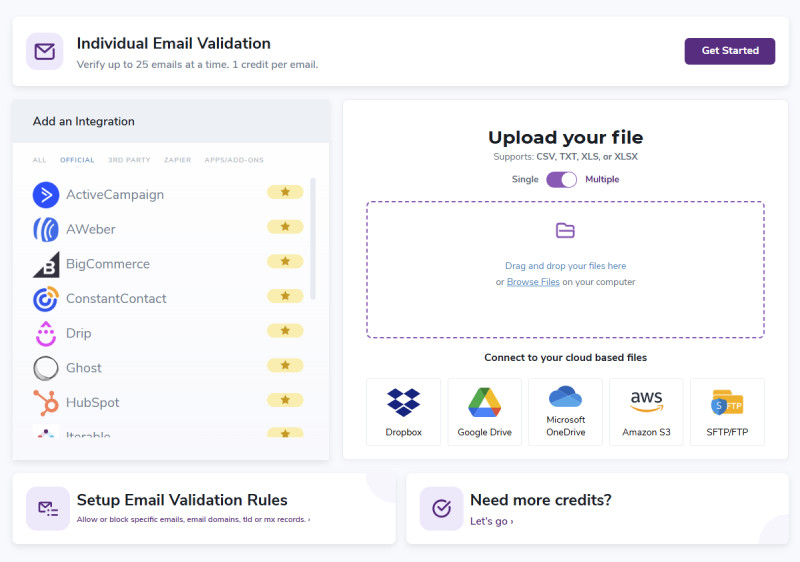
- From the Upload your file section, toggle between single or multiple file upload.
- After selecting the chosen file(s), the system will display a file upload widget that will serve as an overview for all uploaded files. From here, you’ll be able to observe the upload process, remove single or all uploaded files, and, from this widget, you can initiate the Validation functionality for which the file(s) was(were) uploaded.
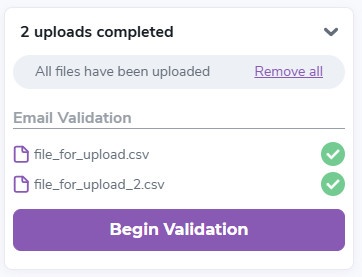
- After you upload the file(s), you can, in our case, begin the Validation process by clicking on the Begin Validation button.
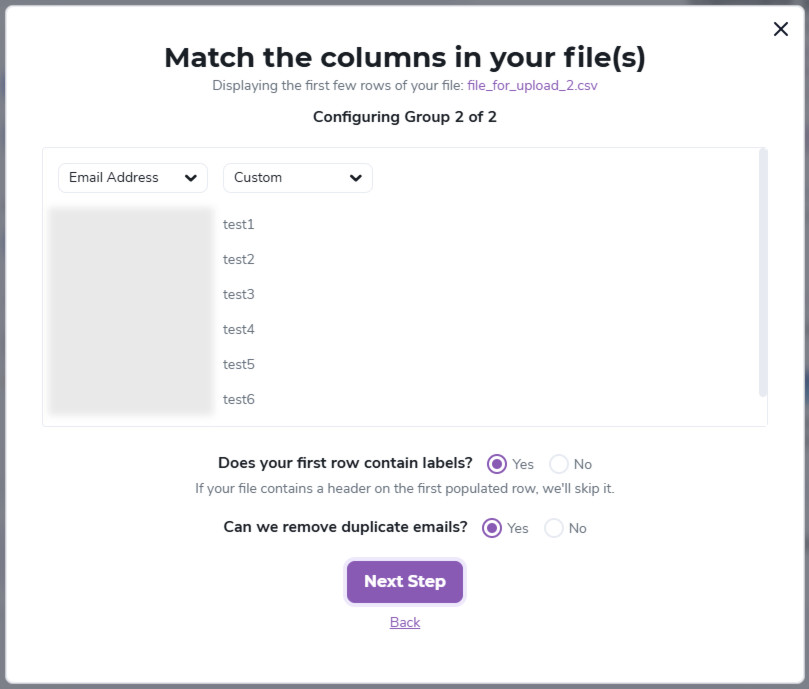
- As mentioned, the system will scan the files and will try to determine the column's data type. If the structure of the files differ, you’ll be prompted to match the columns to their corresponding data type.
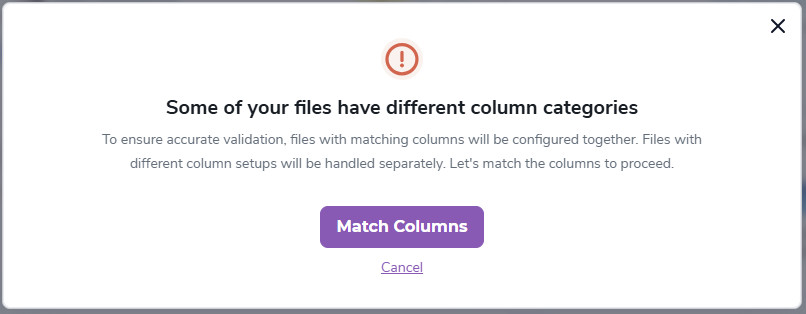
- The system will group similar files with corresponding columns matching the file structure. If the structure between files differ, multiple groups will be created, and you’ll have to match the column to the data type for accurate and correct results. Notice below the difference between the file structure and the necessity of manually matching the column to the data type:
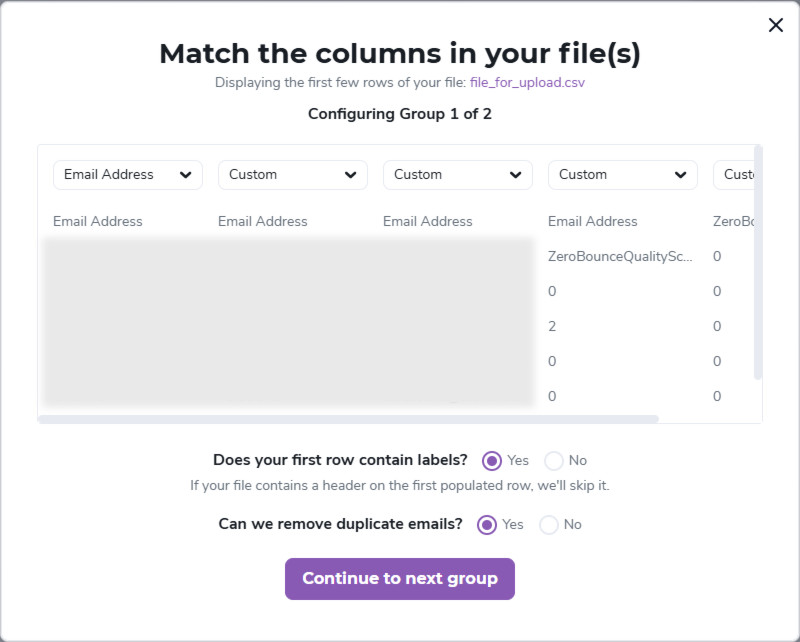
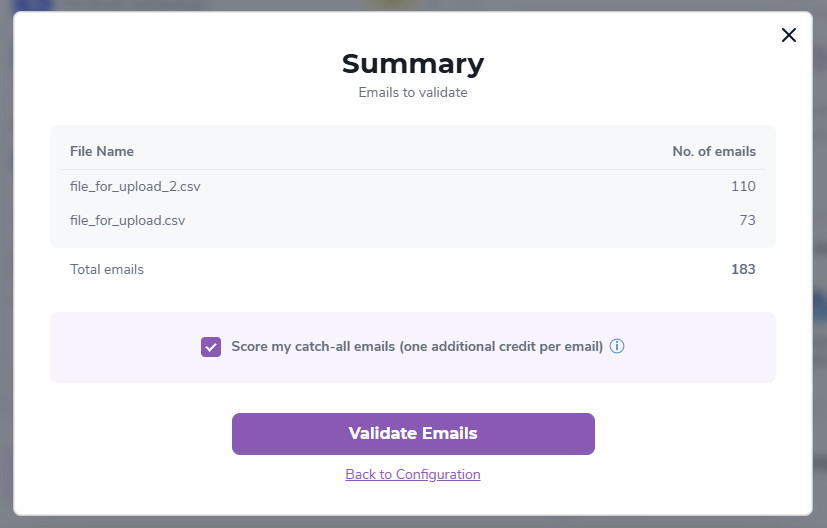
- After matching the columns to the data types, you’ll encounter the Summary overview, in which you’ll be able to see the number of emails to be validated and the possibility of scoring the catch-all emailsⓘ. You can also go back to the configuration step in case there is a mismatch between the column and data type. Send the files to validation when ready.
 Please noteIn the event of insufficient funds, you may proceed with validating the files that can be covered by the available balance.
 - You have successfully submitted the files for validation and you’ll be redirected to the validation results page. Here, the validation process will commence, and you’ll be able to see the results once finished.