Email Validation For Zendesk Sell
Prerequisites
You must have an active Zendesk Sell account. If you do not have an account, you can create one at https://www.zendesk.com/sell to find more details about Zendesk Sell.
Ensure the contacts from your Zendesk Sell account have tags associated with them.
Organize your Zendesk Sell contacts with Tags.
You can organize your Zendesk Sell contacts by applying the tag ZB_List_
This is important, as contacts without tags will not be imported to ZeroBounce.
To see how to add the tags, you can access this link:
https://support.zendesk.com/hc/en-us/articles/4408834602394-Managing-tags-for-leads-contacts-and-deal
Step 1:
Go to https://www.zerobounce.net/members/signin and sign in with your ZeroBounce account. Find the 'Integrations' tab on the left side menu to select the Zendesk Sell integration.

Step 2:
The popup describes the action. Click Connect to proceed.
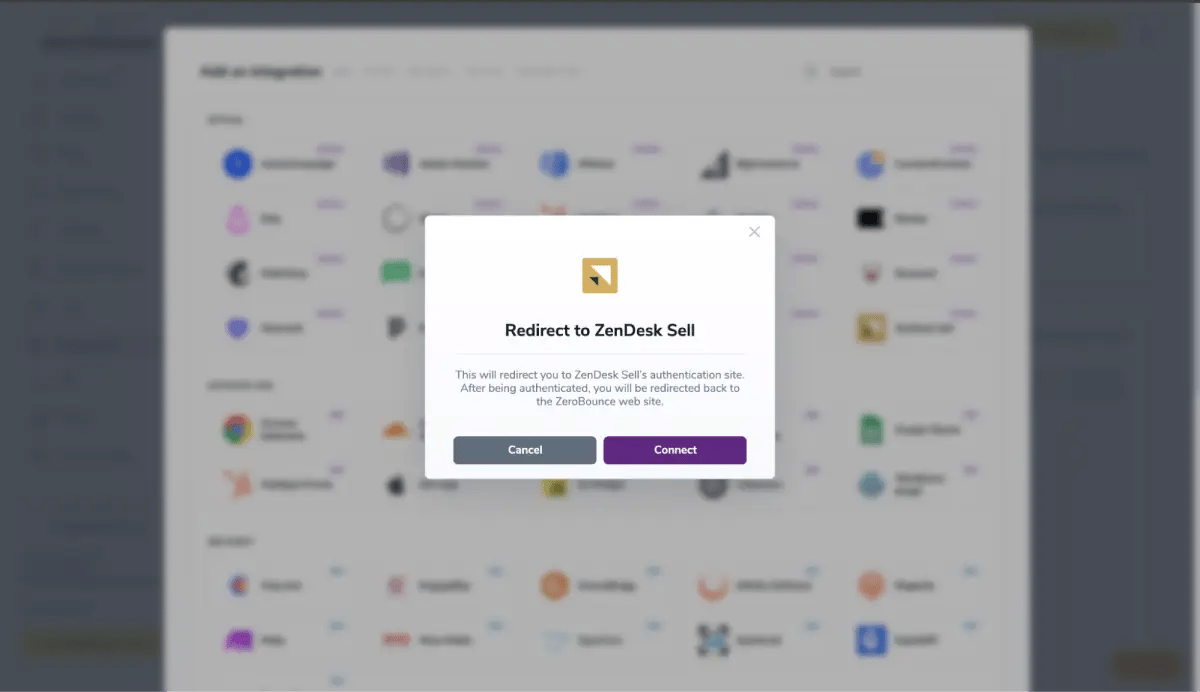
ZeroBounce Menu
Step 3:
Authenticate with your Zendesk Sell email account or sign up.
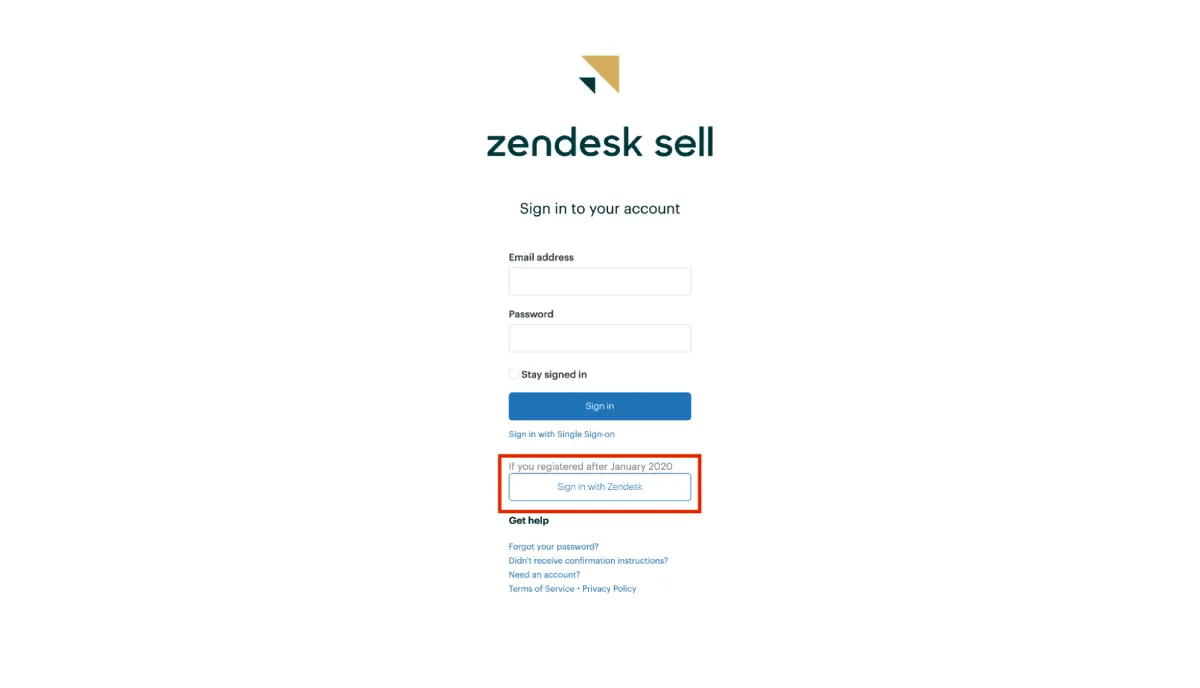
Zendesk Sell authentication page

Step 4:
Authorize the ZeroBounce integration after authenticating.

Authorization page displayed after authenticating
Step 5:
Once you have authorized access ZeroBounce will gather all of your email addresses for the account you selected during the authorization process.
Choose one or more lists to validate/score. Click the validate or score button to start the process. Depending on how many emails you have to process it could take a few minutes to pull the lists and add them to our processing queue.
Note: The results of the validation and scoring are automatically exported to the integration they originated from.
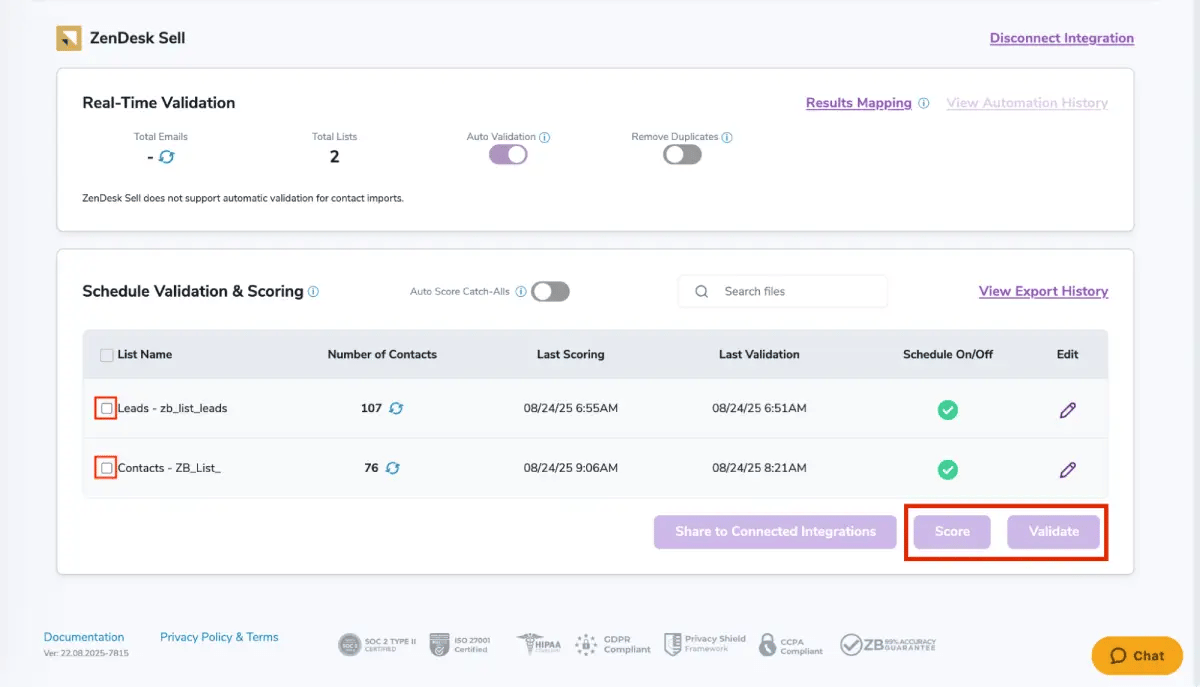
After successful integration, you will be able to view your lists in your ZeroBounce Dashboard.
Validation Pop-up
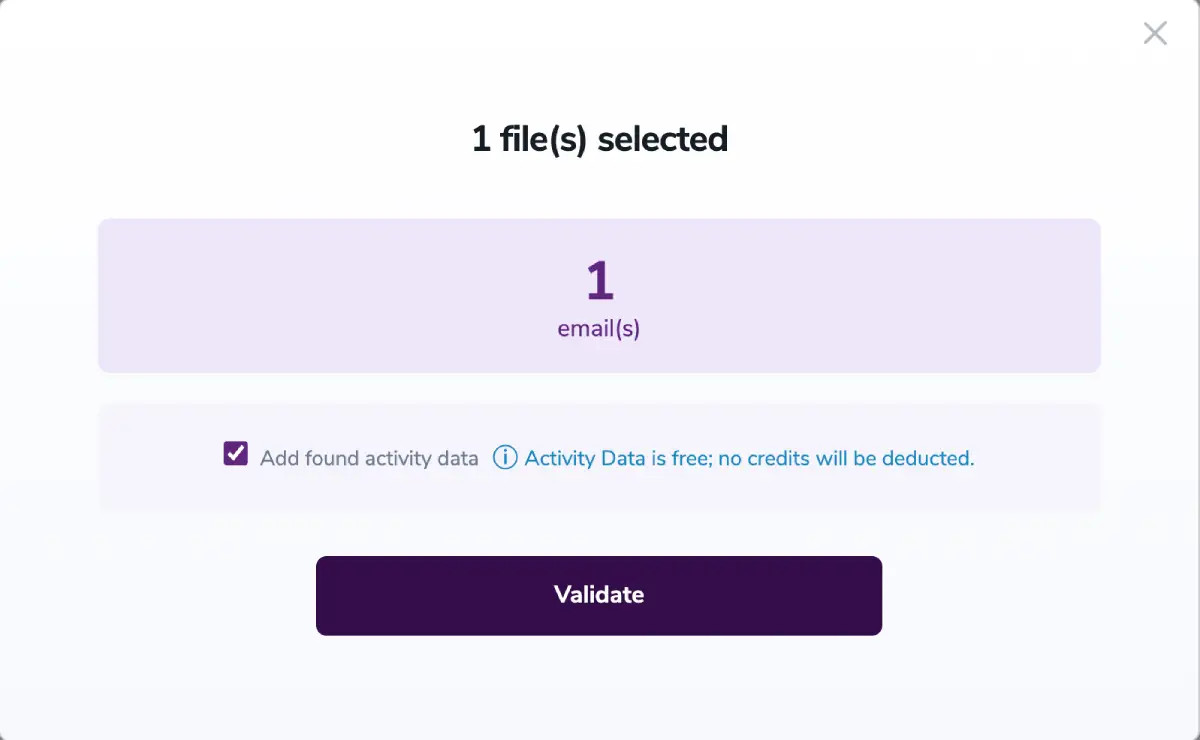
Step 6:
On validate you will be presented with a popup with an options that can assist your validation process:
- ZeroBounce Activity Data - uses interaction data to identify emails that have been opened, clicked, forwarded, or unsubscribed. The matching process is performed in-house through ZeroBounce's infrastructure, and your data is not transferred or shared with any third parties.
Step 7:
You will be taken to the Email Validationⓘ Results page which will show the list you selected in queue
![[object Object], results page](/cdn-cgi/image/fit=scale-down,format=auto,quality=90,width=1920,metadata=none/docs/assets_next_docs/docs/api-integrations/zendesk-sell/zendesk_sell10.webp)
Email Validation results page
Step 8:
Once your list has completed processing you should receive an email notification and you will see that the Download button will appear. Note: The results of the validation and scoring are automatically exported to the integration they originated from.

Status: Completed
Step 9:
When you export your contacts, you'll find the following tags included in the exported file:
- ZB_Status
- ZB_SubStatus
- ZB_Validation_Timestamp
- ZB_Score
- ZB_Scoring_Timestamp
- ZB_Last_Known_Activity
The following tags will be automatically created in your integration with the first automatically validation/scoring results export.
These tags are essential for maintaining up-to-date and accurate contact information, allowing for better management and engagement with your contacts.
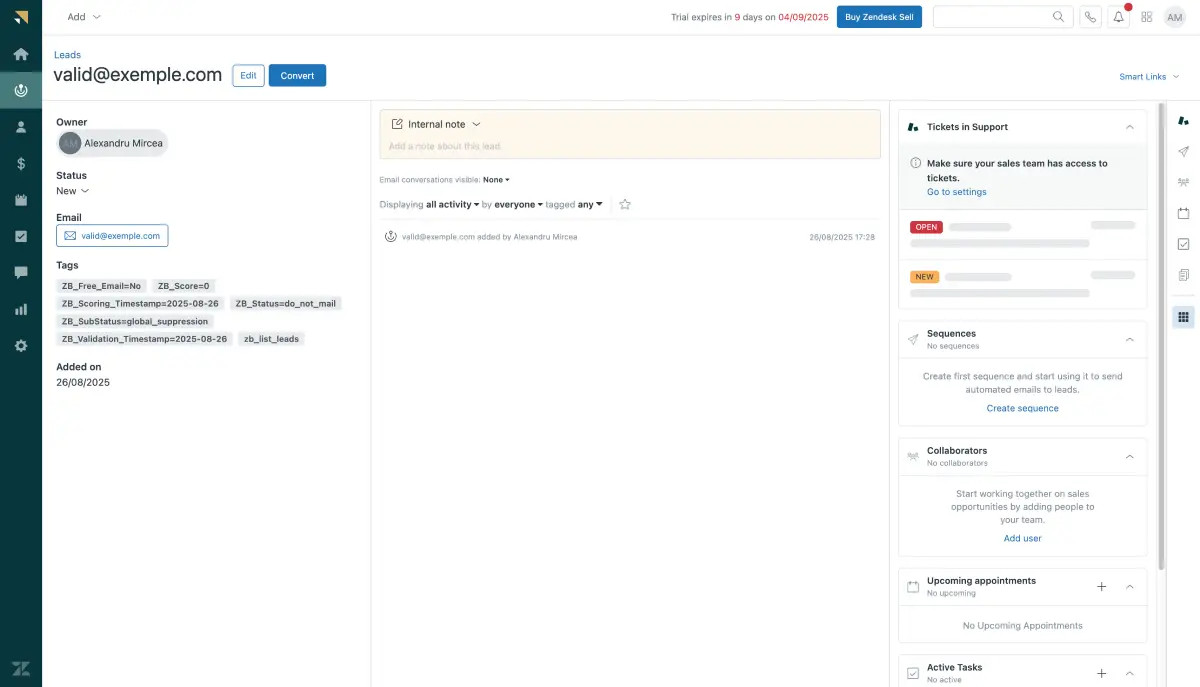
Essential tags for maintaining up-to-date and accurate contact information
Step 10:
Results Mapping simplifies data management by allowing you to customize the names of validation or scoring result fields/tags when exporting to integrations, ensuring consistency.
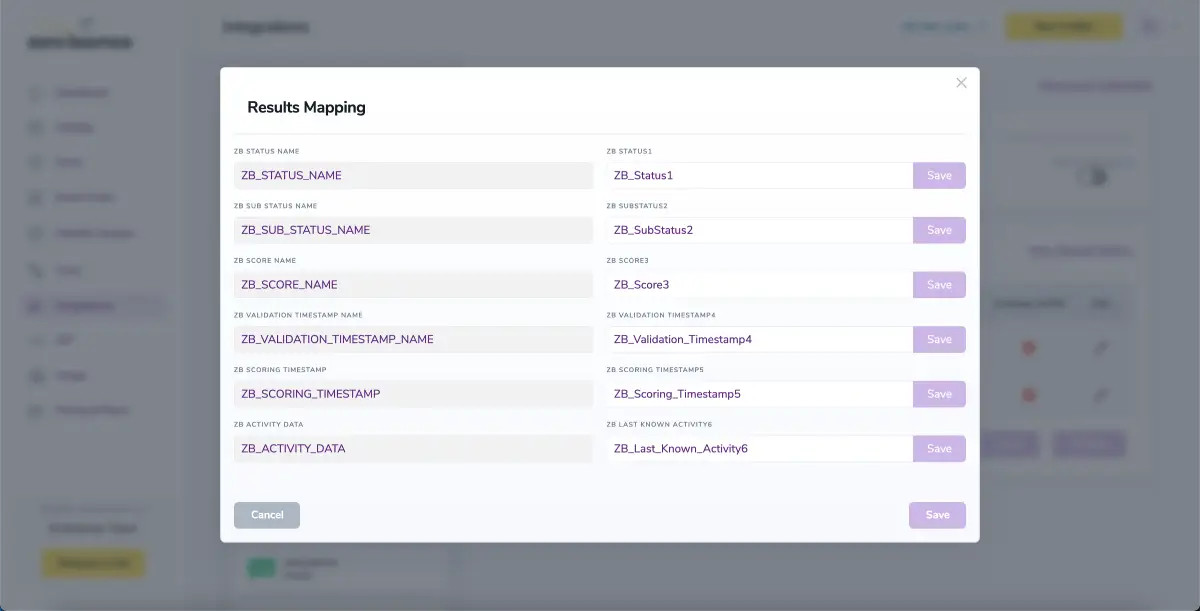
Results Mapping window
Auto-validation
With this feature, you can automatically validate new contacts added to a specific list within your integration. To use auto-validation, you must first establish an integration with one of the supported platforms. Once the integration is set up, go to Integrations in the menu and select your integration. Then navigate to the Real-Time Validationⓘ section, where you can toggle Auto-Validation ON.
When auto-validation is enabled, ZeroBounce will automatically validate any new contact added to the selected list(s) in your integration. This ensures that contacts are validated as they are added to each of the selected/enabled listst, helping maintain clean, valid, and deliverable email lists at all times.
Auto-Scoring of Catch-All Emailsⓘ
When this feature is enabled, catch-all emailsⓘ are automatically scored each time a validation action is performed. This process consumes 1 credit per email. Please note that auto-scoring does not apply to emails added through auto-validation.