DELIVERABILITY DASHBOARD
ZeroBounce Deliverability Dashboard gives senders a centralized view of their email reputation and inbox performance across major mailbox providers. By bringing together Google Postmaster insights and Microsoft SNDS data, the dashboard helps teams monitor key deliverability signals such as domain reputation, IP reputation, spam complaint trends, delivery errors, and provider-specific sending health. Instead of switching between separate postmaster tools, users can review Gmail and Microsoft/Outlook performance in one place, identify reputation issues early, and take action to improve inbox placement and protect sender trust.
Deliverability Data - Google Postmaster
Overview
The Deliverability Dashboard allows you to connect your Google Postmaster account to ZeroBounce, giving you access to key reputation and deliverability metrics for your sending domain. By centralizing this data within ZeroBounce, you can monitor performance and make informed decisions to improve your email deliverability.
This feature is available exclusively to users with a ZeroBounce One subscription.
Key Benefits
- Gain visibility into your domain's email performance
- Monitor reputation metrics in one centralized dashboard
- Identify deliverability issues early
- Improve inbox placement and sender reputation
Features
Once your Google Postmaster account is connected, the Deliverability Dashboard provides the following metrics:
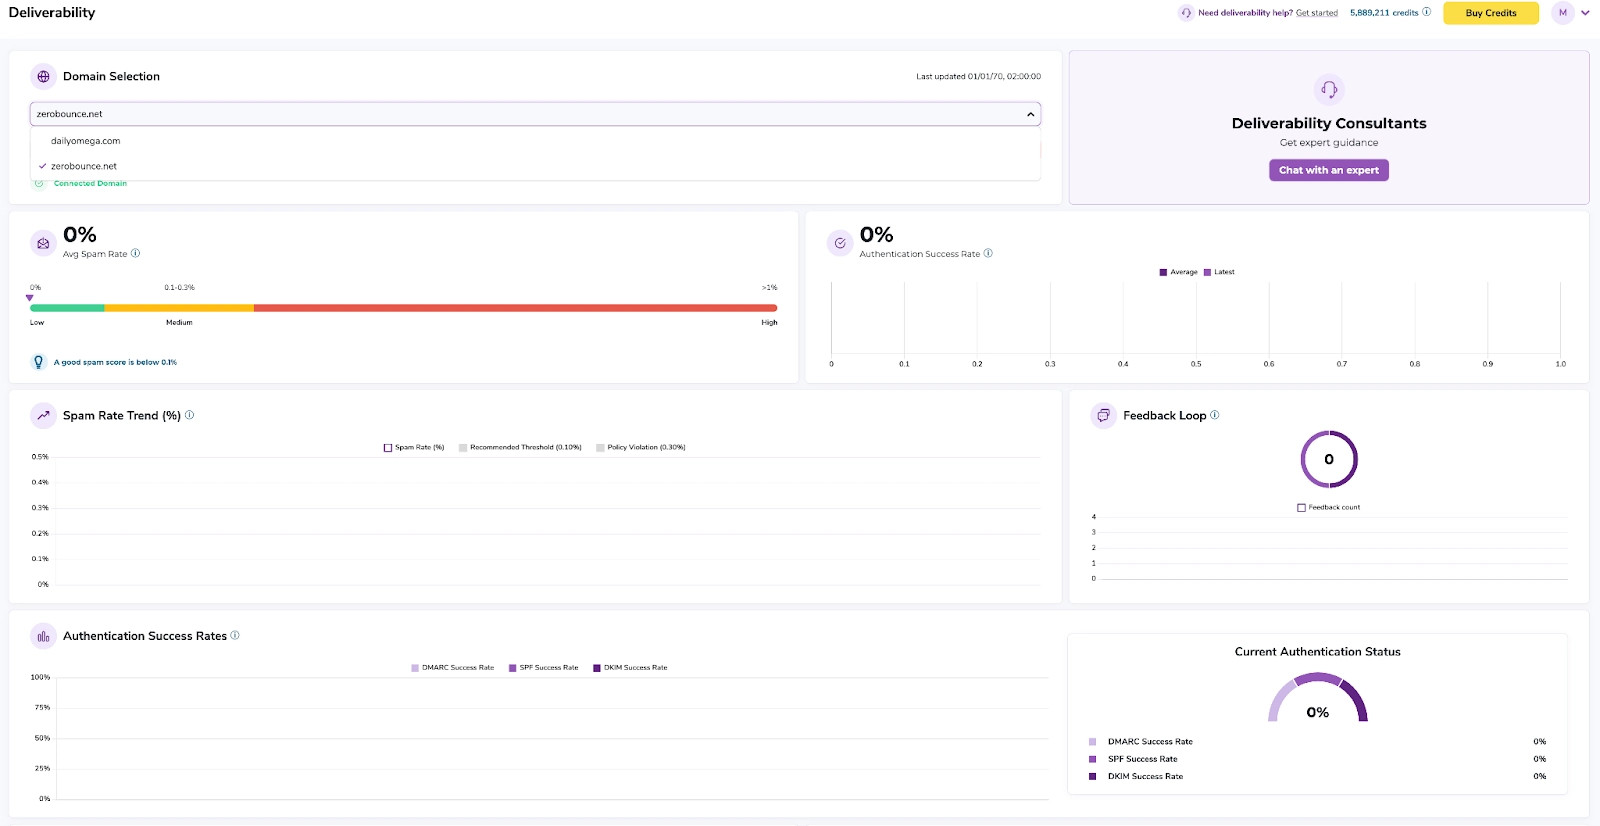
1. Spam Rate
Track the percentage of emails marked as spam by recipients. A high spam rate can negatively impact your sender reputation and inbox placement.
2. Domain Reputation
Understand how mailbox providers view your sending domain. Reputation levels typically range from bad to high, and directly influence email deliverability.
3. IP Reputation
Monitor the reputation of your sending IP address. Poor IP reputation can lead to emails being filtered or blocked.
4. Delivery Errors
Identify issues that prevent your emails from being successfully delivered, such as temporary failures or permanent bounces.
Requirements
- A valid Google Postmaster account
- Verified domain in Google Postmaster
- Active ZeroBounce One subscription
How It Works
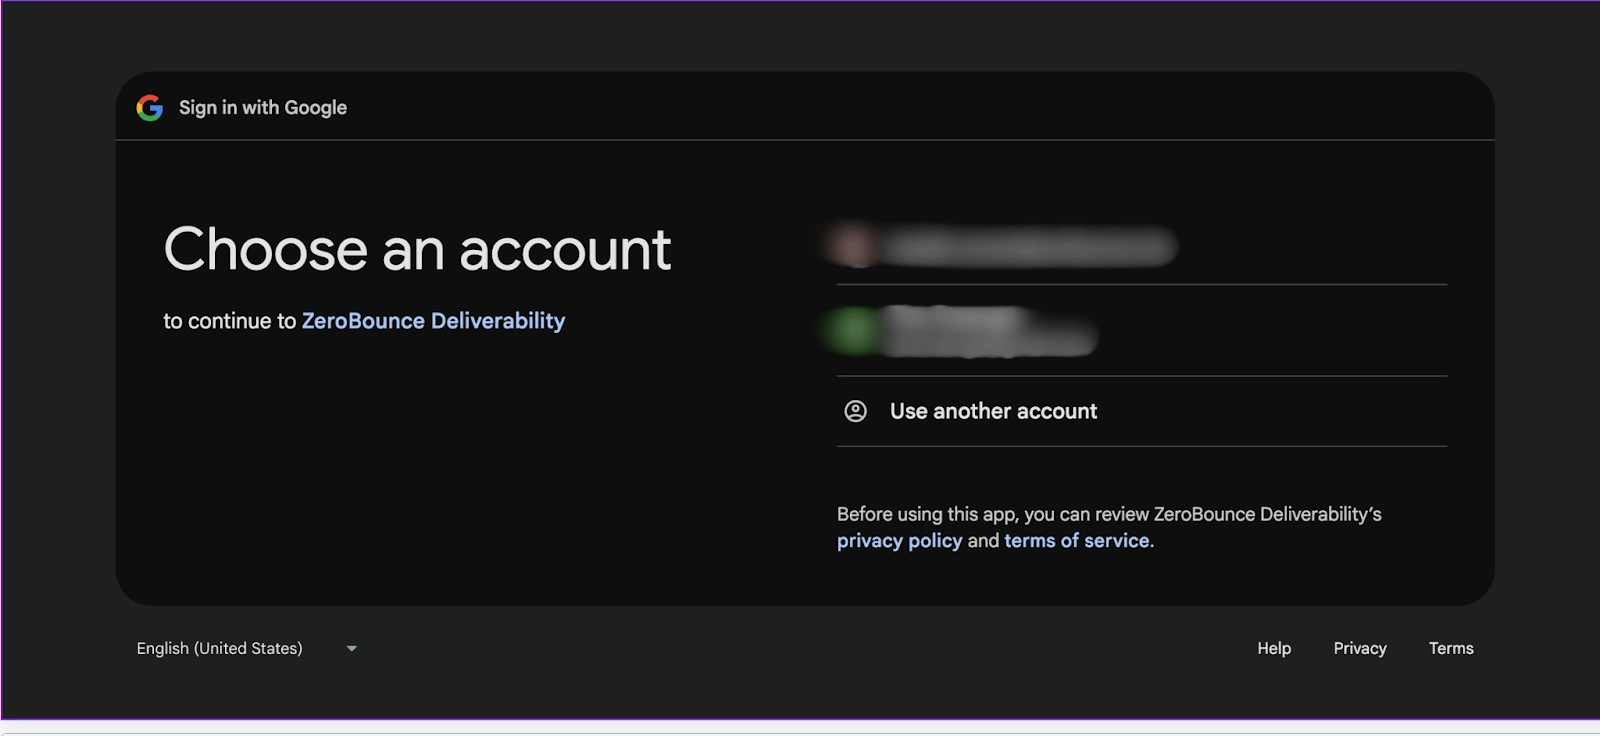
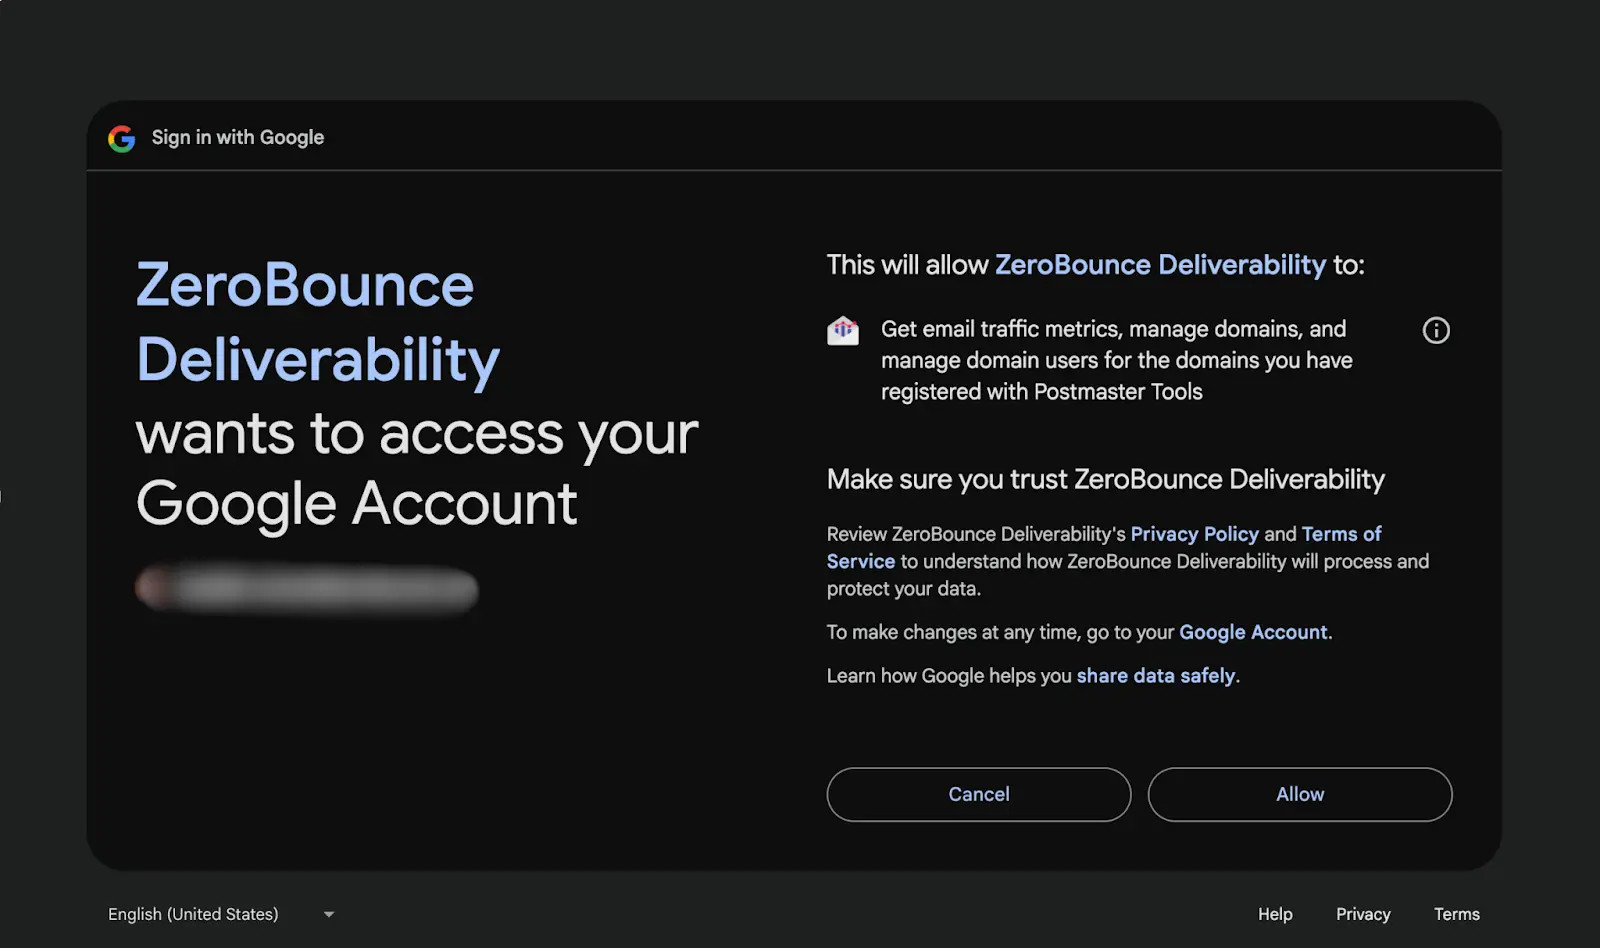
1. Navigate to the Deliverability Section and connect your Google Postmaster Account to ZeroBounce
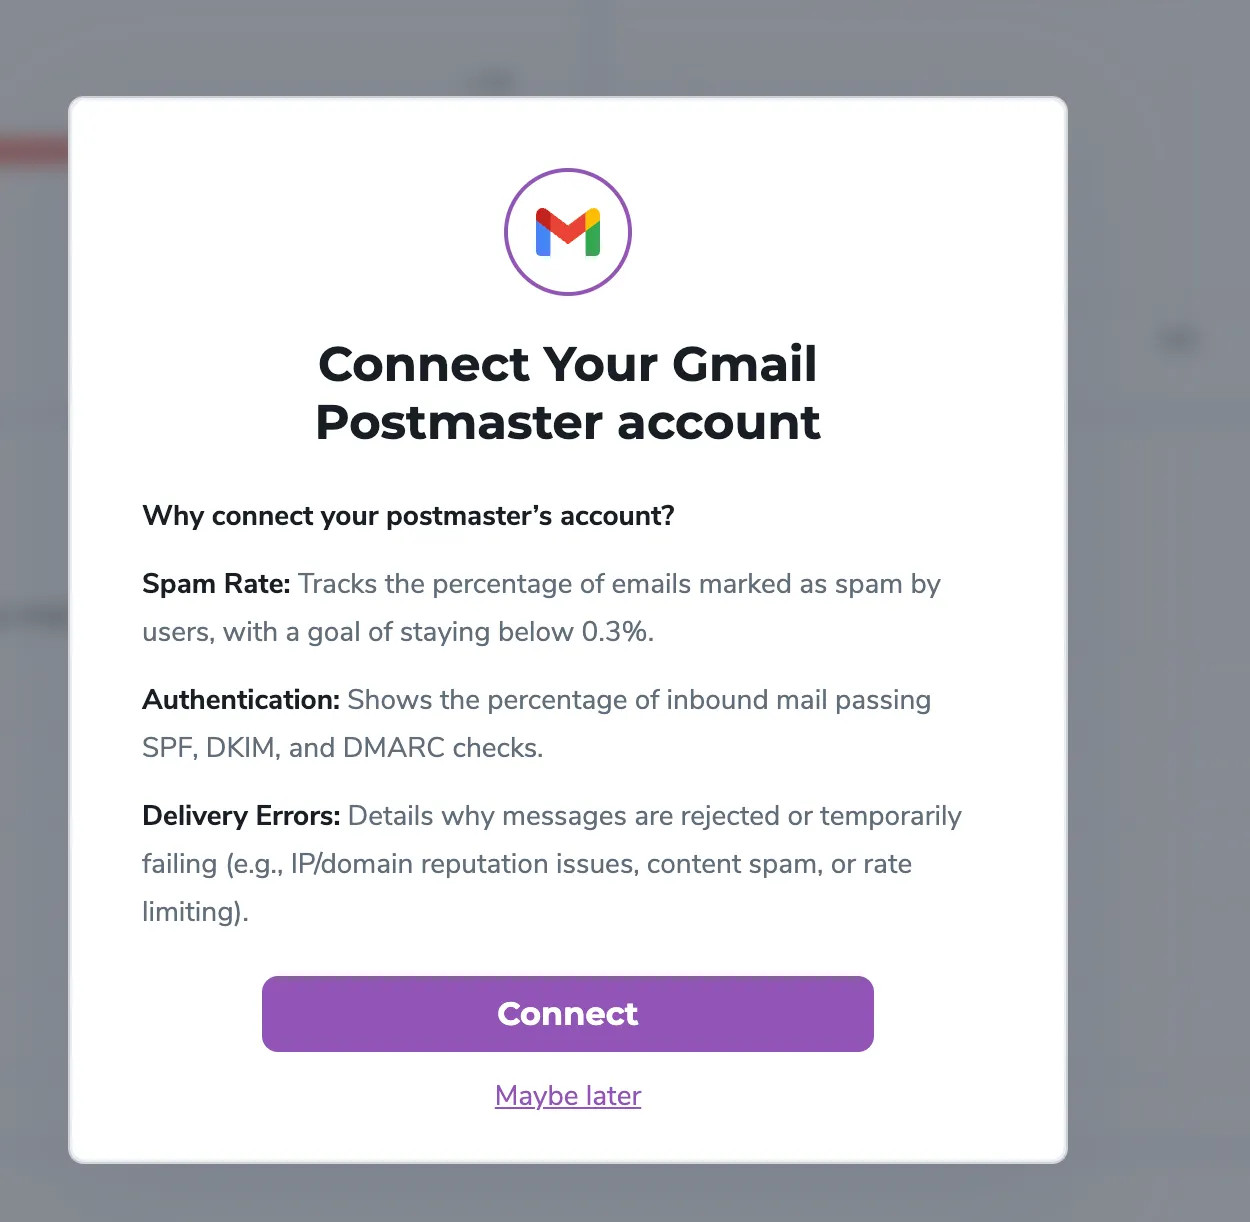
2. Authorize access to your domain data
3. View and analyze your deliverability metrics in real time
Deliverability Data - Microsoft SNDS
Connect Your SNDS Account
Overview
The Microsoft SNDS tab in the ZeroBounce Deliverability Dashboard allows you to view Microsoft Smart Network Data Services data directly inside ZeroBounce. This gives you access to key IP-level reputation and deliverability metrics for sending IPs that send mail to Microsoft and Outlook.com recipients. Microsoft describes SNDS as a service that helps senders understand and improve their Outlook.com reputation by providing detailed data about individual sending IPs.
By centralizing Microsoft SNDS data inside ZeroBounce, you can monitor your sender health, identify deliverability issues early, and make informed decisions to improve inbox placement and sender reputation. This follows the same centralized Deliverability Dashboard approach used by ZeroBounce for reputation and performance monitoring.
Key Benefits
- Monitor Microsoft sender reputation from inside ZeroBounce.
- View IP-level acceptance, complaint, and spam trap data.
- Identify poor IP reputation, increased deferrals, complaint spikes, and trap hits.
- Compare processed versus accepted Microsoft traffic.
- Resync SNDS data when updated information is available.
- Use Microsoft SNDS insights alongside Google Postmaster data for broader deliverability monitoring.
Requirements
To use the Microsoft SNDS dashboard, you need:
- Access to the ZeroBounce Deliverability Dashboard.
- A Microsoft account with SNDS access.
- Authorization for the sending IPs you are responsible for.
- Available Microsoft SNDS data for the selected IP and date range.
Microsoft SNDS requires users to request access to the IPs they are responsible for before data can be viewed.
How to Access Microsoft SNDS Data
1. Log in to your ZeroBounce account.
2. Go to the Deliverability Dashboard.
3. Select the SNDS tab next to Postmaster.
4. Choose a sending IP from the IP dropdown.
5. Select the desired date range, such as Last 7 Days.
6. Click Display data to load the available Microsoft SNDS metrics.
7. Click Resync to refresh the available data.
8. Click Disconnect if you want to remove the Microsoft SNDS connection.
IP Reputation Check
The IP Reputation Check section gives you a quick summary of the selected IP's Microsoft SNDS performance.
This section includes:
- MetricDescription
- Healthy IPsShows how many connected IPs are currently considered healthy.
- Selected IPAllows you to choose the sending IP you want to analyze.
- Last UpdatedDisplays the most recent time ZeroBounce synced the available SNDS data.
- ReputationShows the current reputation status for the selected IP, such as poor reputation.
- AcceptanceShows the percentage of processed traffic accepted by Microsoft.
- ComplaintsShows the complaint rate reported for the selected IP.
When data is available, ZeroBounce displays the message:
Showing available Microsoft SNDS data.
SNDS Data Summary
The SNDS Data section provides a detailed breakdown of Microsoft-reported activity for the selected IP.
- MetricDescription
- RCPT CommandsThe number of recipient commands observed for the selected IP.
- DATA CommandsThe number of DATA commands reported for the selected IP.
- RecipientsThe number of recipients associated with the selected IP's Microsoft traffic.
- Trap HitsThe number of spam trap hits reported by Microsoft SNDS.
- IP StatusThe current Microsoft-reported status of the selected IP, such as normal.
- Complaint RateThe percentage of recipients who complained about messages from the selected IP.
- Trap PeriodThe SNDS trap period value associated with the selected IP.
- Top JMR P1 SenderThe sender identifier most associated with Microsoft Junk Mail Reporting data. Microsoft notes that SNDS includes its Junk Email Reporting Program, which helps senders receive reports when users mark messages as junk.
Spam Trap Hits
The Spam Trap Hits card shows the total number of spam trap hits reported for the selected IP.
A healthy result is:
0 spam trap hits
When no trap hits are detected, ZeroBounce displays a clear status indicator. The chart below the metric shows trap hit activity by date, helping you identify whether the issue is isolated or recurring.
Spam trap hits may indicate issues such as:
- Old or inactive contacts.
- Purchased, rented, or scraped lists.
- Poor list acquisition practices.
- Compromised signup forms.
- Sending to addresses that should have been suppressed.
If trap hits appear, review the sending source, list origin, and recent campaigns associated with the selected IP.
Complaint Rate
The Complaint Rate card shows the percentage of Microsoft recipients who marked messages as junk or spam.
This section includes:
- Current complaint rate.
- Complaint rate trend.
- Daily complaint rate chart.
- Status indicator, such as Below 0.3%.
A low complaint rate is a positive deliverability signal. A sudden spike may indicate that recipients are not expecting your messages, your content is not aligned with their expectations, or your list contains unengaged subscribers.
To reduce complaint rates:
- Send only to opted-in contacts.
- Remove inactive or unengaged recipients.
- Make unsubscribe links easy to find.
- Avoid sudden volume increases.
- Segment campaigns based on engagement.
- Review campaigns that generated complaint spikes.
Microsoft recommends using SNDS data to keep mailing lists clean and monitor the IPs you control for unusual behavior.
SMTP Health
The SMTP Health section shows how Microsoft handled mail from the selected IP over the selected date range.
The chart compares:
- Processed traffic
- Accepted traffic
Below the chart, ZeroBounce displays summary metrics:
- MetricDescription
- ProcessedTotal traffic processed by Microsoft for the selected IP.
- AcceptedTotal traffic accepted by Microsoft.
- DeferredTraffic that was processed but not accepted during the selected period.
- AcceptanceThe percentage of processed traffic that was accepted.
The acceptance rate is calculated as:
Accepted ÷ Processed × 100
A lower acceptance rate or an increase in deferred traffic may indicate reputation problems, traffic spikes, authentication issues, filtering concerns, or other deliverability problems.
Deliverability Consultants
The Microsoft SNDS dashboard may also display a Deliverability Consultants panel.
This section gives users access to expert deliverability guidance. If you are interested in speaking with a deliverability consultant, follow the instructions shown in the dashboard to contact your agency or consultant.
How to Interpret Your Microsoft SNDS Data
Healthy Microsoft SNDS Performance
A healthy Microsoft SNDS profile usually includes:
- Normal IP status.
- Strong acceptance rate.
- Low complaint rate.
- No spam trap hits.
- Stable complaint trend.
- No major spikes in deferred traffic.
Poor IP Reputation
If the selected IP shows Poor reputation, review the supporting metrics in the dashboard. Poor reputation may be related to complaint activity, trap hits, high deferrals, low engagement, or sending patterns that Microsoft considers unusual.
Recommended actions:
- Review recent campaigns sent from the IP.
- Check for sudden volume increases.
- Suppress inactive and complaining recipients.
- Confirm that all lists are permission-based.
- Review authentication and sending infrastructure.
- Monitor whether reputation improves after corrective action.
Low Acceptance Rate
If the acceptance rate is low, Microsoft is not accepting a significant portion of the processed traffic.
Recommended actions:
- Review SMTP errors and deferrals.
- Check whether the issue affects one IP or multiple IPs.
- Compare the affected dates with recent campaign activity.
- Reduce volume temporarily if reputation is poor.
- Review list quality and complaint behavior.
Spam Trap Hits
Spam trap hits should be treated as a high-priority issue.
Recommended actions:
- Identify the campaign, list, or sender stream associated with the trap hits.
- Remove old, inactive, or unverified contacts.
- Stop using third-party or high-risk data sources.
- Review signup forms for abuse or bot submissions.
- Continue monitoring the SNDS dashboard until trap hits return to zero.
Troubleshooting
- IssuePossible CauseRecommended Action
- No SNDS data is displayedNo data is available for the selected IP or date range.Select a different date range, confirm the IP has Microsoft traffic, and click Resync.
- IP reputation is poorMicrosoft may be seeing negative signals from the IP.Review complaints, trap hits, deferrals, list quality, and recent volume changes.
- Acceptance rate is lowMicrosoft may be deferring or filtering more traffic.Review SMTP health, authentication, sending volume, and engagement.
- Complaint rate increasedRecipients may be marking campaigns as junk.Review the affected campaign, suppress complainers, and remove unengaged contacts.
- Spam trap hits appearThe IP may be sending to risky or outdated addresses.Audit list sources and remove unverified, inactive, or suspicious contacts.
- Data looks outdatedThe dashboard may not have the latest available Microsoft data.Click Resync and check the Last Updated timestamp.
Frequently Asked Questions
What is the difference between Postmaster and SNDS?
The Postmaster tab displays Google Postmaster-related deliverability data. The SNDS tab displays Microsoft SNDS data for sending IPs associated with Microsoft and Outlook.com traffic.
Why does SNDS show IP-level data?
Microsoft SNDS focuses on data for individual sending IPs. This helps senders monitor the reputation and activity of the IPs they control.
What does the Resync button do?
The Resync button refreshes the available Microsoft SNDS data in ZeroBounce. After resyncing, review the Last Updated timestamp to confirm when the latest sync occurred.
Why is there no data for an IP?
SNDS data may not appear if Microsoft does not have data for the selected IP and date range, if the IP is not authorized in SNDS, or if the IP has not sent enough relevant Microsoft traffic.
What does Disconnect do?
The Disconnect button removes the Microsoft SNDS connection from the Deliverability Dashboard. After disconnecting, SNDS metrics will no longer be available in ZeroBounce unless the integration is connected again.