ZeroBounce Logo

Docs

Language Icon
  • Sign In
  • Sign Up Free

Languages

ZeroBounce ImageGetting Started
ZeroBounce ImageEmail List Validation
ZeroBounce ImageA.I. Email Scoring
ZeroBounce ImageEmail Finder
ZeroBounce ImageDomain Search
ZeroBounce ImageActivity Data
ZeroBounce ImageMulti-file upload
ZeroBounce ImageIntegrations
ZeroBounce ImageUsage Reports
ZeroBounce ImageYour ZeroBounce Account
ZeroBounce ImageChanging Your Email
ZeroBounce ImageChanging Your Password
ZeroBounce ImageTwo-Factor Authentication
ZeroBounce ImageChanging Your Time Zone
ZeroBounce ImageNotification Settings
ZeroBounce ImageAccount Assist
ZeroBounce ImageInvoices
ZeroBounce ImageDeleting Your Account
ZeroBounce ImageTeam Accounts
ZeroBounce ImageConfigure Okta SSO
ZeroBounce ImageConfigure Azure SSO
ZeroBounce ImageConfigure OpenID SSO
ZeroBounce ImageEmail Validation API
ZeroBounce ImageEmail Finder API
ZeroBounce ImageDomain Search API
ZeroBounce ImageA.I. Scoring API
ZeroBounce ImageActivity Data API
ZeroBounce ImageList Evaluator API
ZeroBounce ImageApi Dashboard
ZeroBounce ImageAPI Wrappers
ZeroBounce ImageAPI Migration
ZeroBounce ImageFAQ
ZeroBounce ImageSecuring Your Account
ZeroBounce ImageAbout ZeroBounce
ZeroBounce ImageDeliverability Tools
ZeroBounce ImageStatus Page
  • Email Validation Homepage
  • Separator
  • Docs
  • Separator
  • Your ZeroBounce Account
  • Separator
  • Configure Azure SSO
Your ZeroBounce Account

CONFIGURE AZURE SSO

To configure a custom SSO solution for use with ZeroBounce, please contact ZeroBounce Support.

How to set up Azure AD to utilize the same user via single sign-on (SSO) in ZeroBounce

1. Create an Azure AD app using these instructions.

Or

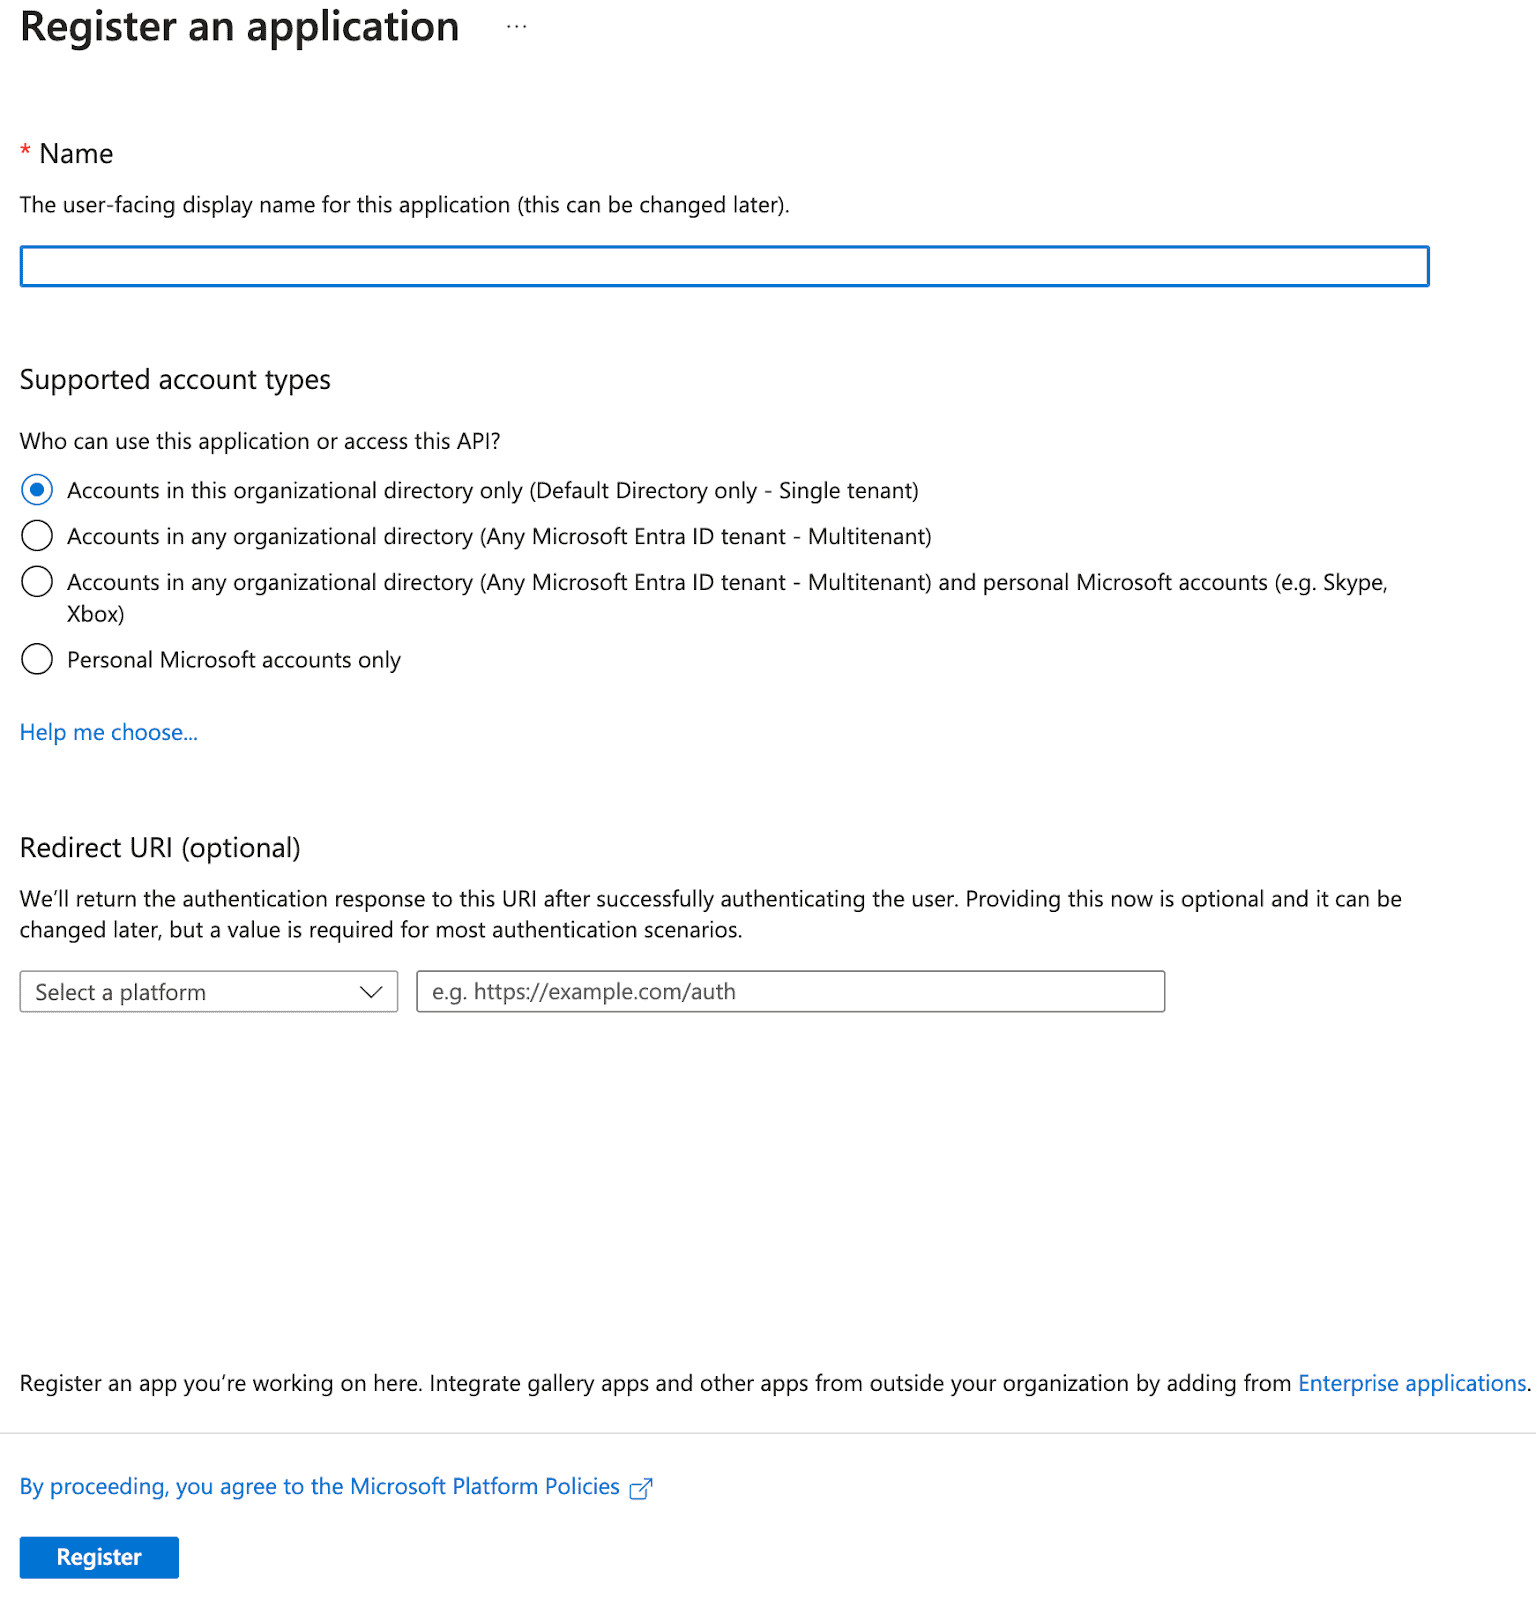
Browse to Identity > Applications -> App Registrations and select New Registration Enter a Name and click register

Browse to Identity, Applications, App Registrations and select New Registration Enter a Name and click register

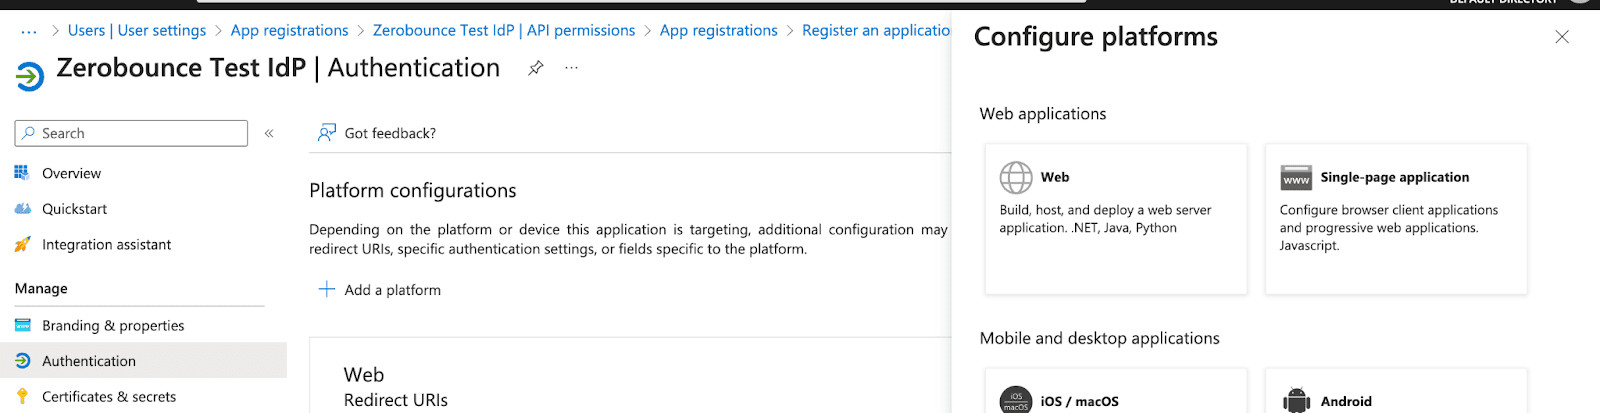
2. On the newly created application, under Manage, select Authentication and under Platform Configuration select Add Platform and choose Web as the application

Select Authentication and under Platform Configuration

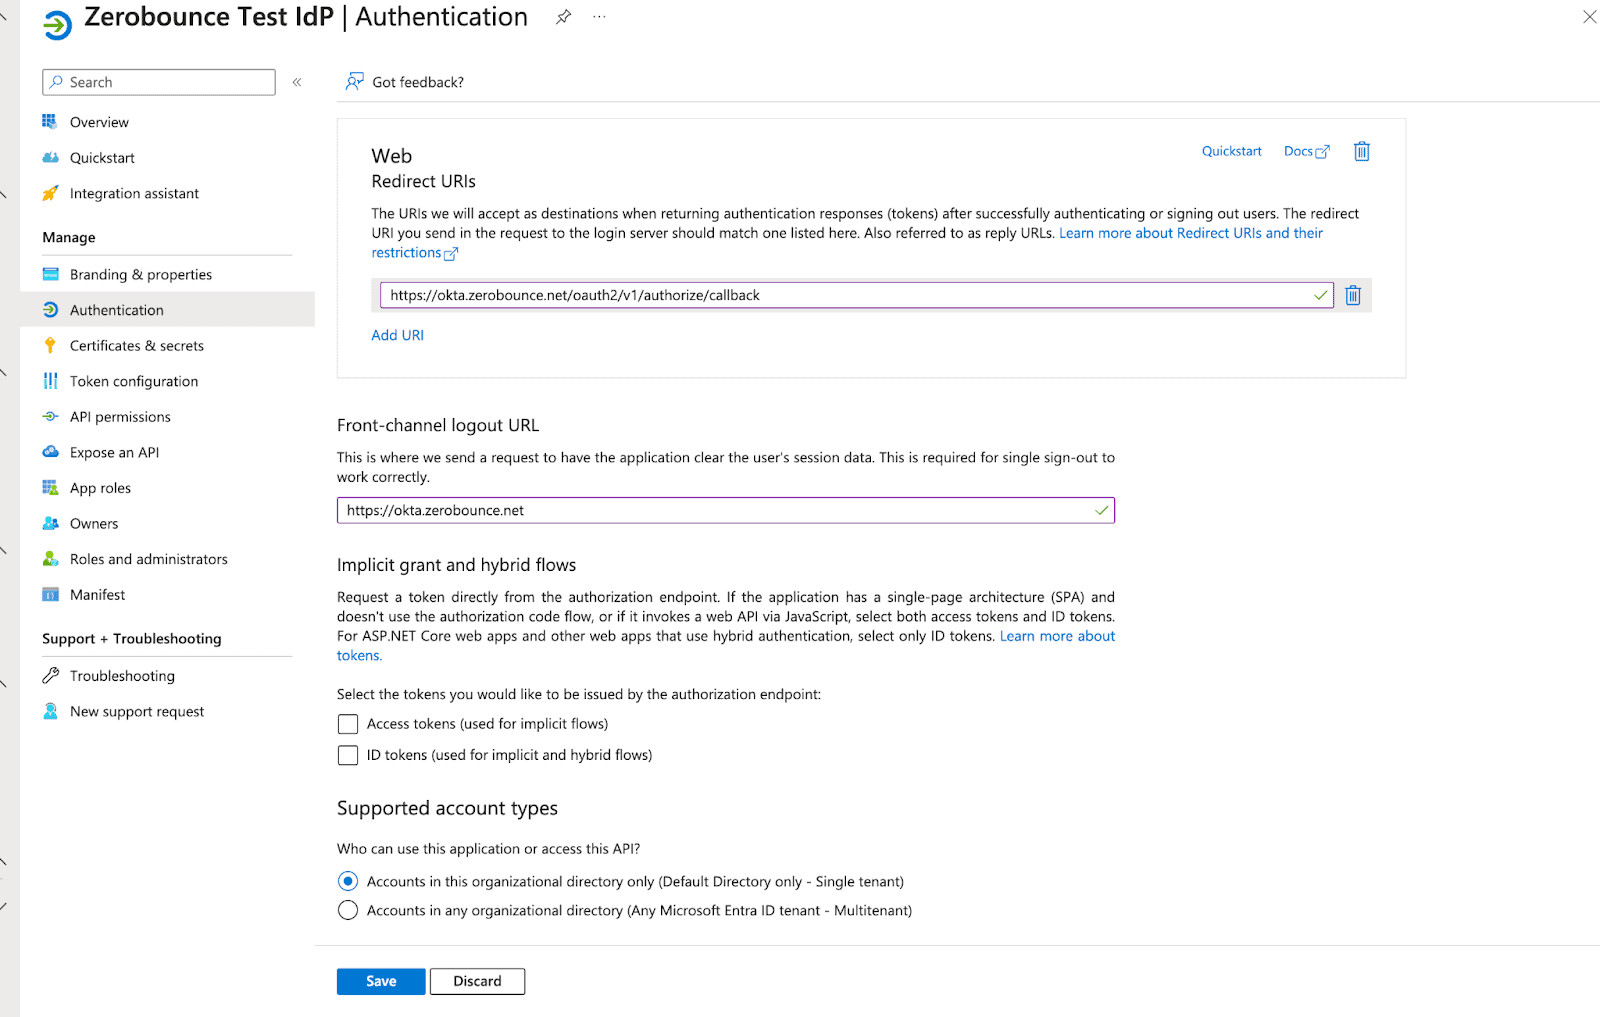
In the Web platform created, add https://okta.zerobounce.net/oauth2/v1/authorize/callback as the redirect URI. In the Front-channel logout URL field, add the following: https://okta.zerobounce.net

Add the following: https://okta.zerobounce.net

3. Under Manage, select Certificates & Secrets and select New Secret

Set a Name and choose an expiry date

Set a Name and choose an expiry date

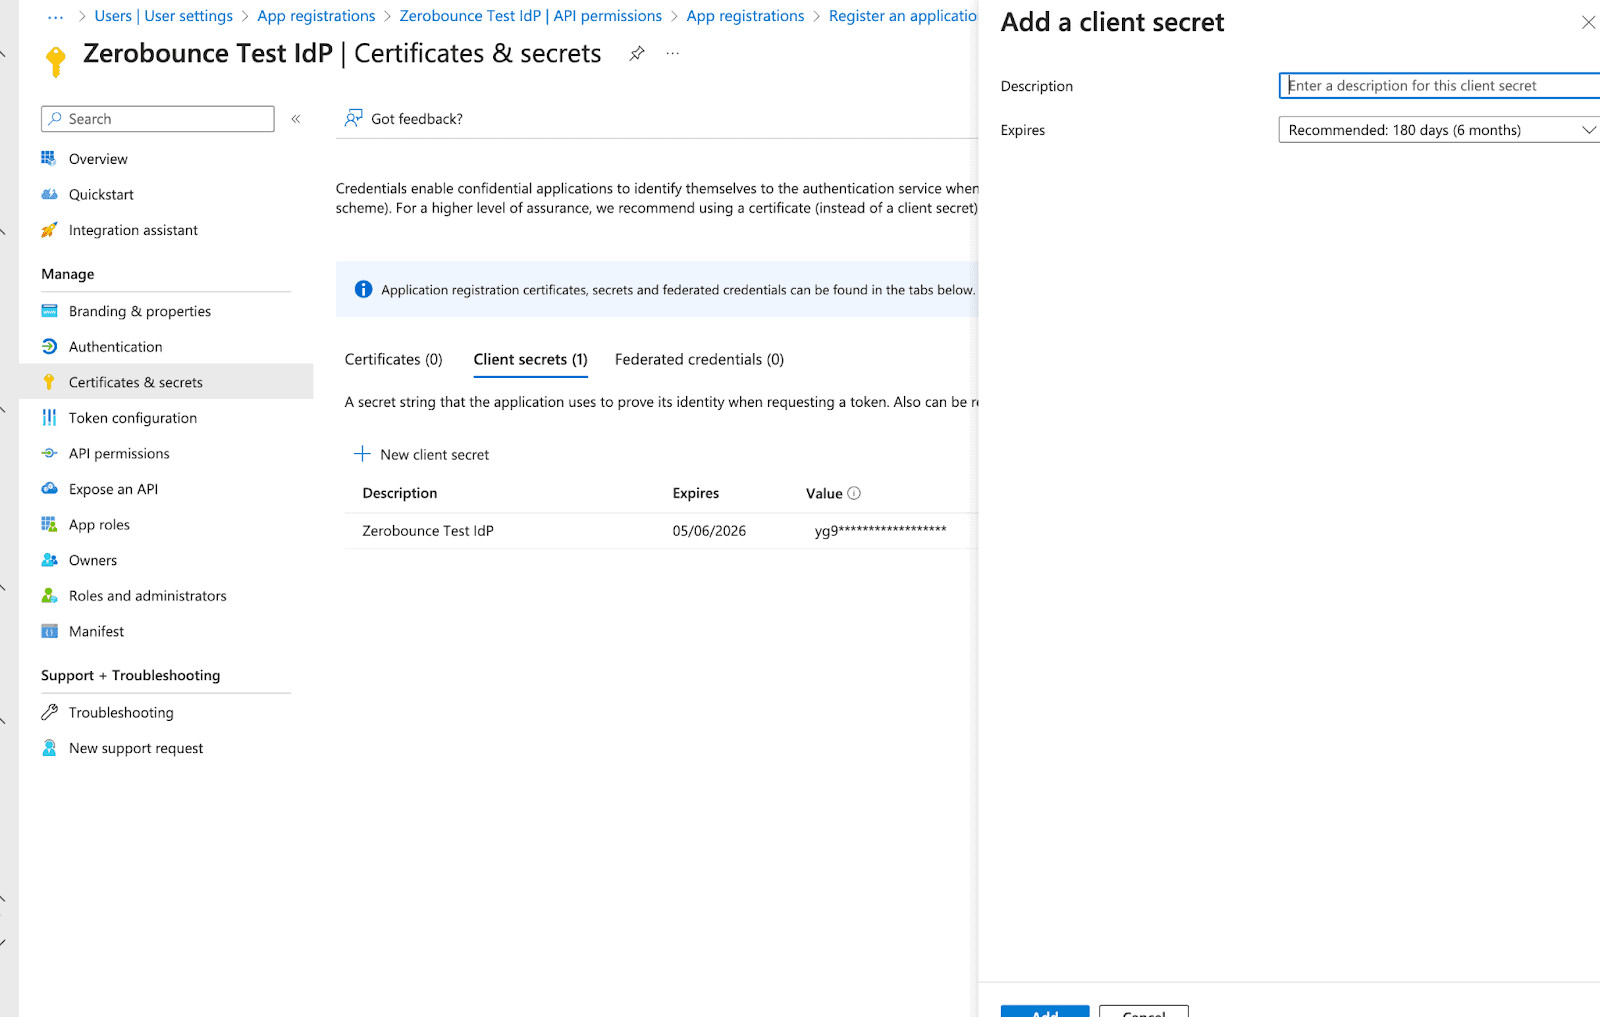
Copy the Value field as this will be required

What you will need to provide

1. The domain name you will be accessing this IdP from (or domain names in case of multi tenant configurations)

2. Application Id found in Overview

Provide the domain name and application Id

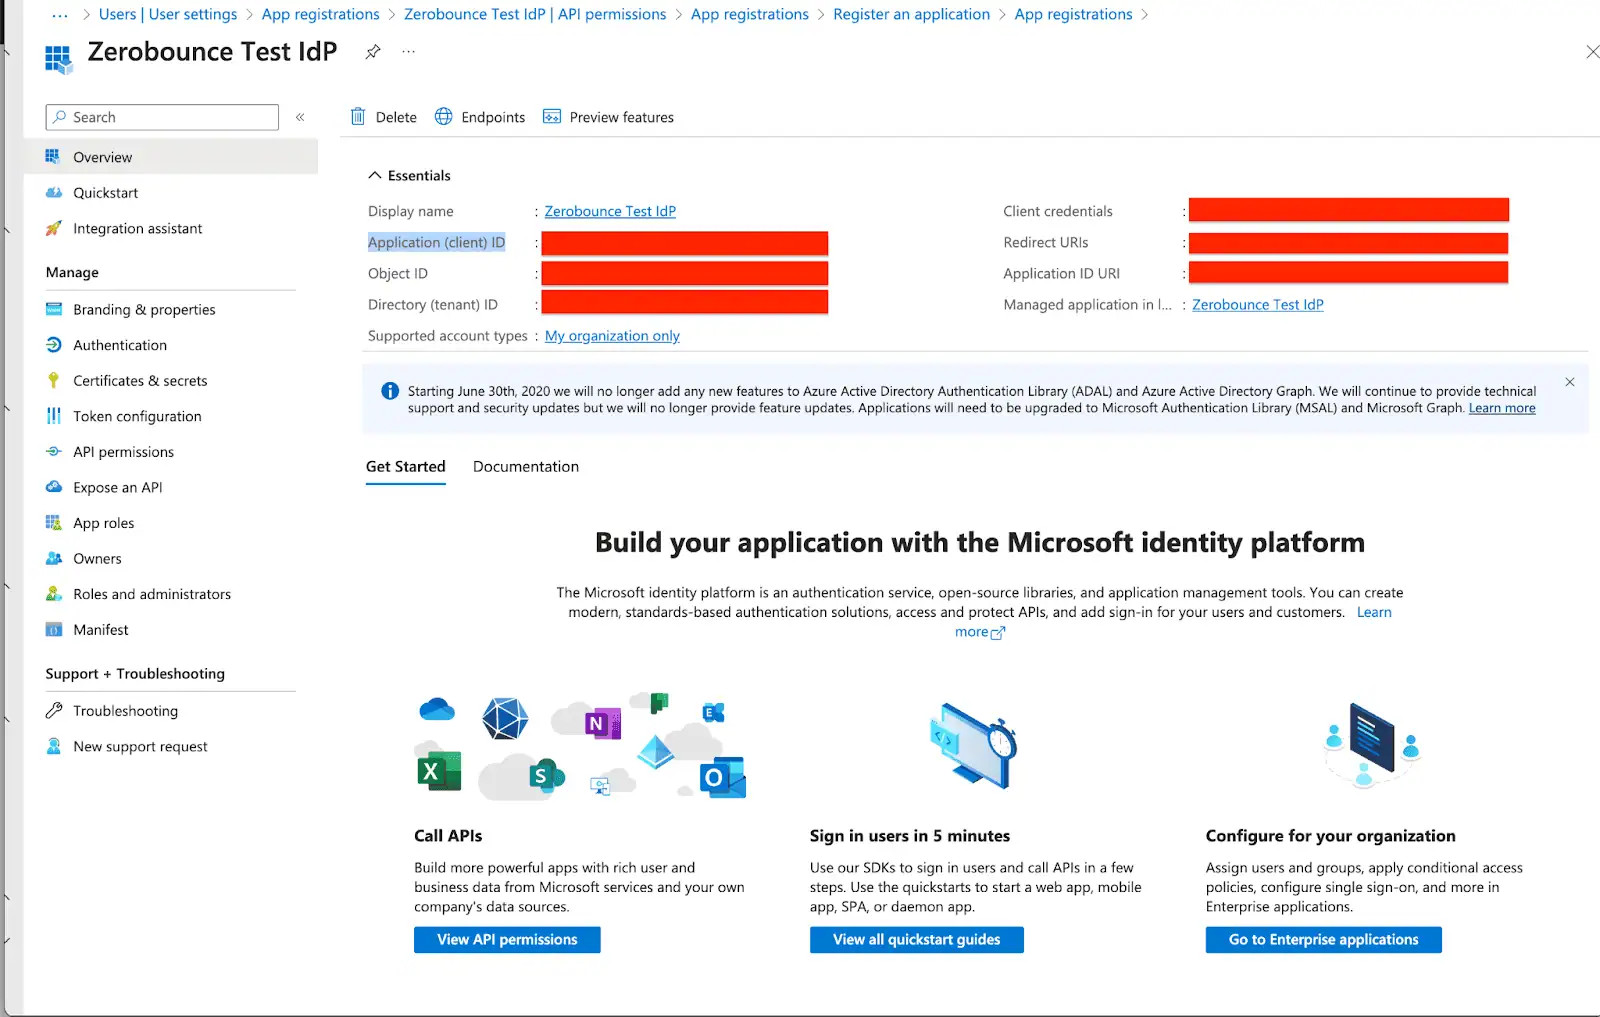
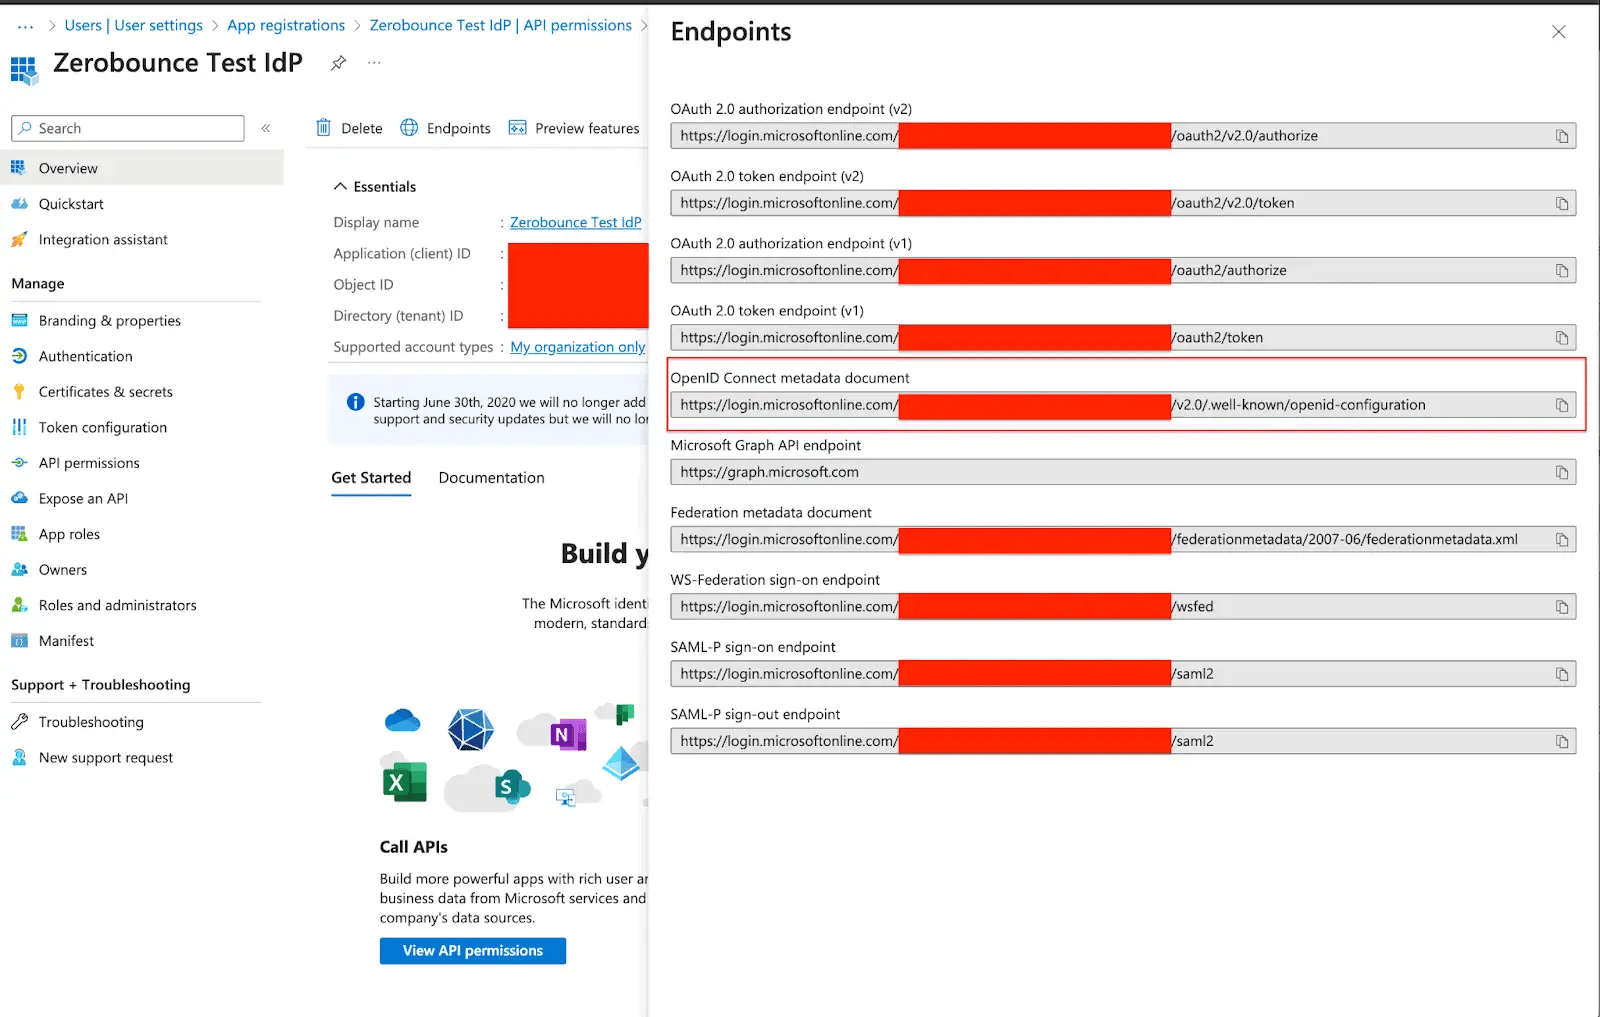
3. The link to .well-known/openid-configuration found in Overview -> Endpoints

The link to .well-known/openid-configurationThe client secret copied in the Certificates & Secrets configuration

4. The client secret copied in the Certificates & Secrets configuration

For more information on the steps please see these instructions.

ZeroBounce Image
Please note:
All alternative sign in methods, including passwords and social sign ins, will be disabled, leaving avialable only the external SSO option.
Should you have 2FA enabled on your account and also on your Azure client, authentication will necessitate confirmation from both sources. If you prefer to bypass this requirement, kindly consider disabling either of the two.